How to Install Trafficmaster Laminate Flooring?
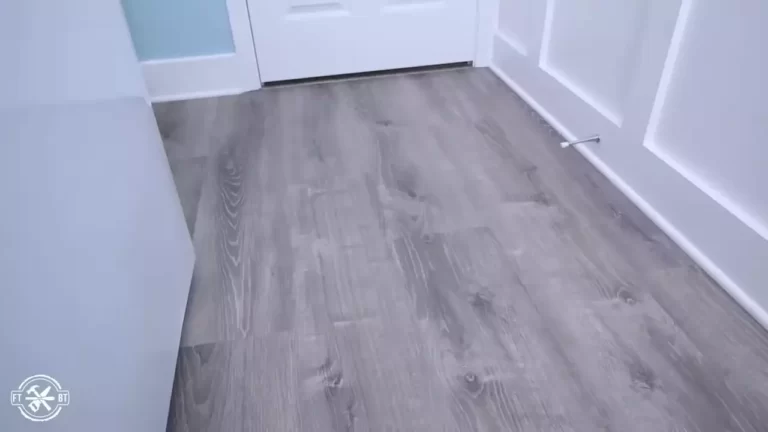
To install Trafficmaster Laminate Flooring, follow these steps. Prepare the subfloor, lay down underlayment, measure and cut the laminate planks, then click and lock them in place.
Installing laminate flooring can be a simple and affordable way to enhance the look of your home. Trafficmaster Laminate Flooring is a popular choice due to its durability and ease of installation. Whether you are a DIY enthusiast or a homeowner looking for a cost-effective flooring solution, this guide will provide you with the step-by-step instructions you need to successfully install Trafficmaster Laminate Flooring in your home.
From preparing the subfloor to locking the planks in place, we will cover all the essential aspects of the installation process. By following these instructions, you can achieve a professional-looking result that will make your space shine. So, let’s get started!
Step 1: Preparing The Subfloor
To successfully install Trafficmaster Laminate Flooring, it is crucial to properly prepare the subfloor. This step is essential to ensure the longevity and stability of your new flooring. In this article, we will guide you through the necessary steps to prepare your subfloor for installation.

Checking the subfloor for moisture or unevenness
Before installing your new Trafficmaster Laminate Flooring, you need to assess the condition of your subfloor. Checking for moisture or unevenness is crucial to avoid long-term damage and ensure a smooth installation process.
Moisture check:
A moisture check is necessary to prevent any damage that can occur due to excessive moisture in the subfloor. Here’s how you can check for moisture:
- Use a moisture meter to measure the moisture content of the subfloor. Ensure that the moisture levels are within the manufacturer’s specifications.
Unevenness check:
An uneven subfloor can cause issues such as buckling, squeaking, or an unattractive flooring appearance. Here’s how you can check for unevenness:
- Using a straightedge, check the subfloor for any noticeable high or low spots.
- If you identify any uneven areas, mark them for further attention during the subfloor preparation process.
Removing any existing flooring or carpet
Once you have checked the moisture and evenness of your subfloor, the next step is to remove any existing flooring or carpet. This will provide a clean and even surface for your new Trafficmaster Laminate Flooring.
Here’s how to remove existing flooring or carpet:
- Start by removing any baseboards or trim around the room.
- Carefully pull up the existing flooring or carpet, starting from one corner of the room.
- Dispose of the old flooring or carpet properly.
Repairing any damaged areas
Before moving forward with the installation, it’s important to repair any damaged areas on the subfloor. This will prevent potential problems and ensure a smooth surface for your laminate flooring.
Here’s how to repair damaged areas:
- If there are any holes or gaps in the subfloor, use a suitable filler to fill them in. Allow the filler to dry completely.
- Inspect the subfloor for any loose or squeaky boards. Secure them using screws or nails.
- If there are any protruding nails or staples, remove them carefully to avoid potential damage to your new flooring.
By checking the subfloor for moisture or unevenness, removing any existing flooring or carpet, and repairing any damaged areas, you will ensure that your subfloor is ready for the installation of Trafficmaster Laminate Flooring. In the next step, we will guide you through the process of installing an underlayment.
Step 2: Gathering The Tools And Materials
Before you begin the installation process of Trafficmaster Laminate Flooring, it’s important to gather all the necessary tools and materials you’ll need. Having the right supplies on hand will not only make the installation smoother but also help you achieve professional-looking results. Here, we’ll list the required tools and materials and explain their importance in detail.
Listing the required tools and materials for the installation
To successfully install Trafficmaster Laminate Flooring, you’ll need the following tools and materials:
- Laminate flooring planks
- Underlayment
- Tapping block
- Pull bar
- Measuring tape
- Pencil
- Saw (circular saw or jigsaw)
- Safety goggles
- Dust mask
- Gloves
- Knee pads
- Utility knife
- Adhesive tape
Explaining the importance of having the right supplies
Having the right supplies is crucial for a successful and efficient installation of Trafficmaster Laminate Flooring. Each tool and material serves a specific purpose and ensures that the flooring is properly installed. Let’s look at the importance of some key supplies:
Underlayment
The underlayment acts as a moisture barrier and sound insulator, protecting the laminate flooring from potential damage and reducing noise. It provides stability and extra comfort underfoot.
Tapping block and pull bar
The tapping block and pull bar are essential tools for connecting the laminate planks securely. They help to properly align and lock the planks together without causing any damage to the edges or surfaces.
Saw
A saw, whether it’s a circular saw or a jigsaw, is necessary for cutting the laminate planks to fit around obstacles such as doorways or irregular edges. This tool allows you to achieve precise cuts and ensure a seamless installation.
Measuring tape and pencil
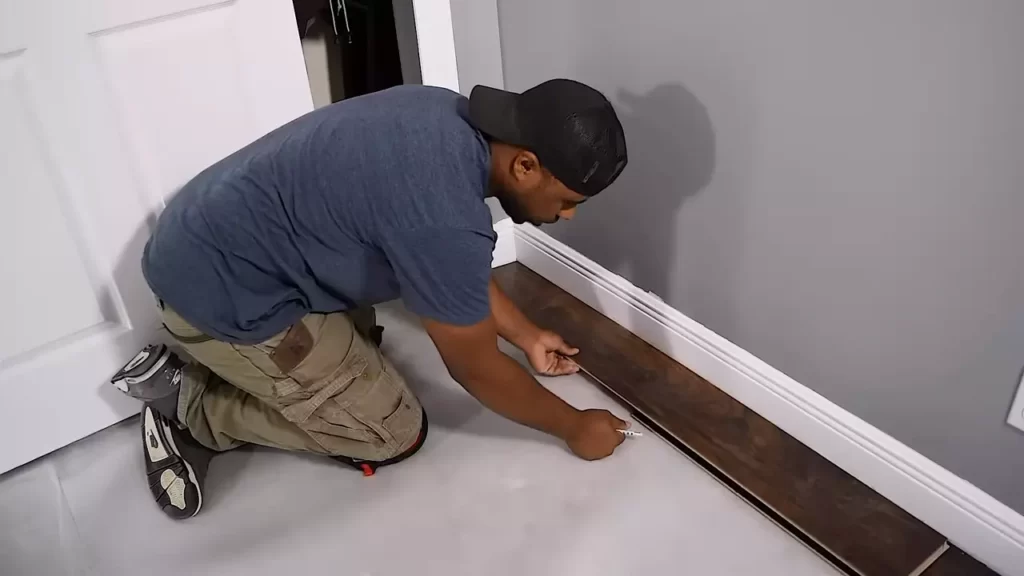
Accurate measurements are essential for a successful installation. The measuring tape and pencil will help you mark the cuts and ensure that the laminate flooring fits perfectly in the designated area.
Safety gear
Wearing safety goggles, a dust mask, and gloves is important to protect yourself from potential injuries and exposure to dust or harmful substances during the installation process.
By gathering all the necessary tools and materials for your Trafficmaster Laminate Flooring installation, you’ll be well-prepared to tackle the task at hand. Continue to the next step to learn how to prepare the subfloor for installation.
Step 3: Acclimating The Laminate Flooring
Acclimating the laminate flooring is a crucial step that should not be overlooked when it comes to installing Trafficmaster laminate flooring. Properly acclimating the flooring to the room’s temperature and humidity is essential for a successful and long-lasting installation.
Explaining the need to acclimate the flooring to the room’s temperature and humidity
Acclimating the laminate flooring allows it to adjust to the environment of the room in which it will be installed. Since laminate flooring is manufactured using wood-based materials, it is susceptible to expansion and contraction due to changes in temperature and humidity. Acclimation helps to minimize these effects, ensuring the flooring remains stable after installation.
Providing instructions on how to acclimate the laminate flooring properly
To acclimate the laminate flooring properly, follow these instructions:
- Ensure the room where the flooring will be installed is at its normal living conditions. This means maintaining a temperature and humidity level similar to what it will be after installation.
- Open the boxes of laminate flooring and remove any plastic wrapping. This allows the flooring to start adjusting to the room’s conditions.
- Place the opened boxes of laminate flooring in the center of the room, preferably on a clean and flat surface. Make sure to leave ample space between the boxes for air circulation.
- Let the flooring acclimate for at least 48 hours. This duration allows enough time for the laminate to adjust to the room’s temperature and humidity, ensuring a more stable installation.
- During the acclimation period, keep the room’s temperature and humidity levels consistent. Avoid drastic changes in these conditions, as it may affect the performance of the laminate flooring.
- After the acclimation period, inspect the laminate flooring for any visible signs of damage or defects. If you notice any issues, contact the manufacturer or retailer for guidance.
Following these instructions will help you properly acclimate the Trafficmaster laminate flooring, ensuring a successful installation and a beautifully finished floor.
Step 4: Measuring And Planning
Before you start installing Trafficmaster laminate flooring, it is crucial to measure the room accurately and plan the layout and direction of the laminate flooring planks. This step will ensure that your flooring looks its best and fits perfectly in your space. Let’s dive deeper into the details of this important step.
Measuring the room accurately
The first thing you need to do is measure your room accurately to determine the amount of laminate flooring you will need. To do this, follow these simple steps:
- Start by measuring the length and width of the room in feet using a tape measure. Make sure to measure from wall to wall, excluding any closets or other obstructions.
- Once you have the length and width measurements, multiply them together to determine the square footage of the room. For example, if your room is 10 feet wide and 12 feet long, the square footage would be 120 square feet.
- If your room has any irregular shapes or protrusions, measure those separately and add the square footage to your total. This will ensure you have enough flooring for the entire space.
It’s always a good idea to add an extra 10% to your total square footage to account for any mistakes or wastage during installation. This extra flooring can also come in handy for future repairs.
Determining the layout and direction of the laminate flooring planks
Once you have measured the room, it’s time to determine the layout and direction in which you will install the laminate flooring planks. Here are some key considerations to keep in mind:
- Consider the natural light sources in the room. If your room has windows, it is generally recommended to install the planks parallel to the longest wall or in the direction of the incoming light. This will help create a sense of continuity and make the room appear larger.
- Think about the traffic flow in the room. For areas with heavy foot traffic, such as hallways or entryways, it is best to install the planks perpendicular to the traffic flow. This will ensure the flooring is more durable and less prone to wear and tear.
- Consider the aesthetics of your space. Visualize how the planks will look and align with the existing elements in your room, such as furniture or architectural features. Experiment with different layout options to find the one that enhances the overall design and appearance.
Once you have determined the layout and direction, you can then proceed with the installation process, confident that your Trafficmaster laminate flooring will be a perfect fit for your room.
Remember, accurate measurements and thoughtful planning are the keys to a successful laminate flooring installation. Take your time during this step to ensure a seamless and visually appealing result.

Step 5: Installing The Underlayment
When it comes to installing Trafficmaster laminate flooring, proper underlayment installation is crucial. The purpose of underlayment is to provide support, insulation, and moisture protection, ensuring that your laminate flooring stays in optimum condition for years to come. In this step-by-step guide, we’ll walk you through the process of installing the underlayment to create the perfect foundation for your new flooring.
Explaining the Purpose and Benefits of Using Underlayment
Underlayment serves several important purposes when installing laminate flooring:
- Support: Underlayment acts as a buffer between your subfloor and the laminate flooring, providing cushioning and support. This helps to prevent uneven spots or sagging in the floor over time.
- Insulation: Underlayment helps to insulate your space, reducing noise transfer and providing a comfortable floor surface to walk on. It also acts as a thermal barrier, ensuring your flooring stays warm in the winter and cool in the summer.
- Moisture Protection: Underlayment creates a moisture barrier, protecting your laminate flooring from any potential damage caused by moisture or humidity. This is especially important in areas such as bathrooms, kitchens, or basements.
Providing a Guide on How to Install the Underlayment Properly
Now that you understand the importance of underlayment, let’s dive into the step-by-step process of installing it correctly:
- Start by preparing the subfloor. Ensure it is clean, dry, and level. Remove any existing flooring, adhesive residue, or debris.
- Measure the room and cut the underlayment accordingly. Leave a small gap (about 1/4 inch) around the edges to prevent buckling or warping.
| Materials Needed: | Tools Needed: |
|---|---|
|
|
- Start at one corner of the room and roll out the underlayment, ensuring it is smooth and covers the entire floor area.
- If using adhesive to secure the underlayment, apply it in a grid pattern, leaving about 6 to 8 inches between each line. Use a roller to ensure proper adhesion.
- Once the underlayment is in place, secure the edges using tape or adhesive. This will prevent any shifting or movement during the installation of the laminate flooring.
By following these simple steps, you can ensure that your underlayment is installed properly, providing the necessary support, insulation, and moisture protection for your Trafficmaster laminate flooring. Now you’re ready to move on to the next step and start laying your new flooring!
Step 6: Installing The Laminate Flooring
Now that you have prepared the subfloor and acclimated your Trafficmaster laminate flooring, it’s time to install the planks and bring your project to life. Follow these step-by-step instructions to ensure a professional-looking installation.
Providing step-by-step instructions on how to install the laminate flooring
Installing laminate flooring may seem daunting, but with the right guidance, it can be a straightforward process. Follow these steps to achieve a beautiful and durable result:
- Start with a clean and dry subfloor: Sweep or vacuum the subfloor, ensuring that it is free from any debris or moisture that can affect the adhesion of the laminate flooring.
- Lay the underlayment: Install a suitable underlayment to provide cushioning and noise reduction. Roll it out in strips, ensuring they overlap and are taped securely together.
- Choose your starting point: Begin installing the laminate flooring against a wall, preferably the longest and straightest one in the room. You can use spacers to maintain a consistent expansion gap between the planks and the wall.
- Install the first row: Place the tongue side of the first plank against the wall, ensuring it is parallel to the starting wall. Secure the plank by inserting the tongue into the groove of the previous row’s plank at a 20-degree angle. Continue adding planks to complete the first row.
- Fit and cut planks: Use a miter saw, table saw, or laminate cutter to measure and cut planks for the second and subsequent rows. Remember to leave an expansion gap of 1/4-inch between the end of the plank and the wall.
- Install subsequent rows: Insert the long side of each plank at a 20-degree angle into the groove of the previous row’s plank. Gently push down and align the short edge of the plank, ensuring a tight fit. Continue adding planks row by row, staggering the seams for a natural and attractive look.
- Complete the installation: Once all the planks are installed, remove the spacers and install baseboards or molding to cover the expansion gap. Clean the floor thoroughly to remove any adhesive residue or dust.
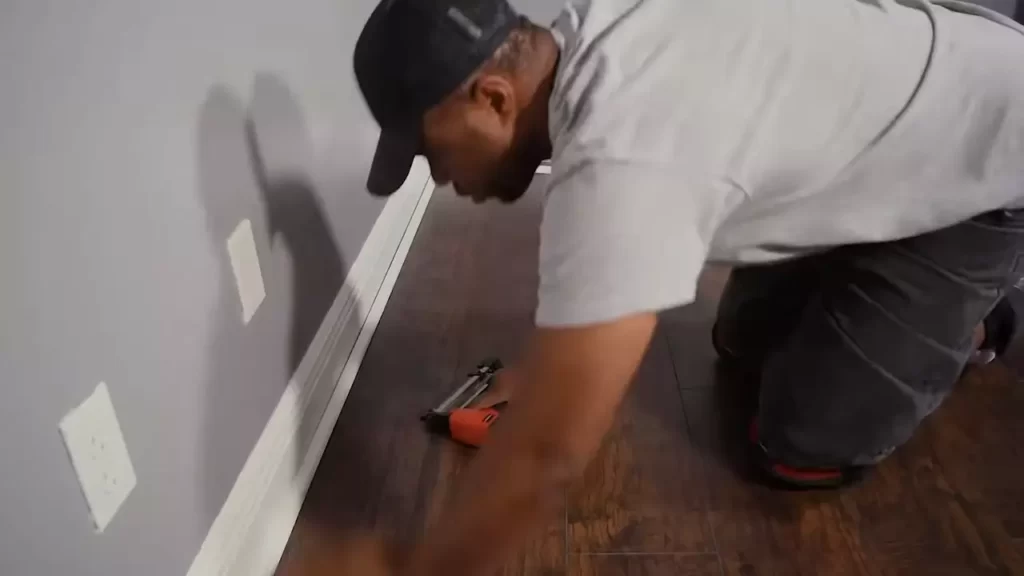
Demonstrating proper techniques for cutting and fitting the planks
One of the key elements of a successful laminate flooring installation is cutting and fitting the planks properly. Here are a few techniques to ensure accurate cuts:
- Measure twice, cut once: Take precise measurements before cutting the planks to avoid any unnecessary mistakes.
- Use the right tools: Invest in a quality miter saw, table saw, or laminate cutter to achieve clean and precise cuts. These tools are designed specifically for cutting laminate flooring efficiently.
- Position the plank correctly: When making a cut, position the plank face down with the finished side up. This ensures that the cut edge will be hidden once installed.
- Secure the plank: Use clamps or a stable surface to hold the plank firmly in place while cutting. This prevents any movement that can cause inaccurate cuts or splintering.
- Practice safety measures: Always wear safety goggles and gloves when cutting laminate flooring. Follow the manufacturer’s instructions and take necessary precautions.
By following these techniques, you can achieve precise cuts and a seamless fit for your laminate flooring.
Now that you’ve learned the step-by-step instructions for installing Trafficmaster laminate flooring and the proper techniques for cutting and fitting the planks, you’re ready to transform your space with a stylish and durable flooring option. Keep up the good work!
Step 7: Adding Finishing Touches
Once you have successfully installed Trafficmaster Laminate Flooring in your space, it’s time to add those final touches that will make your installation look seamless and professional. This step includes installing the baseboards or quarter-rounds and applying any necessary caulking or sealants. Follow these guidelines to achieve a finished look for your new flooring.
Installing the baseboards or quarter-rounds
- Start by measuring and cutting the baseboards or quarter-rounds to fit each wall.
- Place the first piece of trim flush against the wall, leaving a small gap between the trim and the laminate flooring to allow for expansion.
- Secure the trim to the wall using a brad nailer or finishing nails.
- Repeat the process for each wall, ensuring a tight fit and consistent height throughout.
- Once all the trim is installed, fill any nail holes with wood filler and sand them smooth for a seamless finish.
Applying any necessary caulking or sealants
- Inspect the areas where your laminate flooring meets other surfaces, such as walls, doorways, or transitions.
- Using a high-quality caulking gun, apply a thin bead of caulk along these edges to create a waterproof seal and prevent any moisture from seeping in.
- Smooth the caulk with your finger or a caulking tool for a clean and professional look.
- If there are any visible gaps between the laminate flooring and the baseboards or quarter-rounds, fill them with a color-matched sealant.
- Wipe away any excess caulk or sealant with a damp cloth or sponge.
By following these steps and adding the finishing touches, you’ll ensure that your Trafficmaster Laminate Flooring installation not only looks great but also functions well for years to come. Take your time during this final step to achieve a polished and professional result.
Step 8: Cleaning And Maintenance Tips
Sharing tips on how to clean and maintain the Trafficmaster laminate flooring
If you want your Trafficmaster laminate flooring to maintain its beautiful appearance for years to come, it’s crucial to know how to properly clean and maintain it. With regular care, you can keep your laminate flooring looking like new and extend its life. Follow these tips for effective cleaning and maintenance of your Trafficmaster laminate flooring:
Recommending products and techniques for long-term care
When it comes to cleaning your Trafficmaster laminate flooring, it’s essential to use the right products and techniques. Here are some recommended products and techniques for long-term care:
Products
- Use a pH-neutral laminate cleaner specifically designed for laminate flooring.
- Avoid using abrasive cleaners, wax, or polish that can damage the laminate surface.
- Consider using microfiber mops or soft-bristle brooms for regular cleaning.
- Invest in a good quality laminate floor cleaner that is safe for use on laminate surfaces.
Techniques
- Regularly sweep or vacuum your Trafficmaster laminate flooring to remove loose dirt and debris.
- For light cleaning, dampen a microfiber mop with the laminate cleaner and gently mop the floor.
- For more stubborn stains or spills, use a mild solution of water and laminate cleaner and gently scrub the affected area with a soft cloth or sponge.
- Avoid excessive water or moisture on the laminate floor, as it can cause damage. Clean up spills promptly and dry the area thoroughly.
- Place doormats at entryways to reduce the amount of dirt and debris brought into the room.
By following these cleaning and maintenance tips, you can keep your Trafficmaster laminate flooring looking its best and enjoy its beauty for years to come. Regular care and attention will ensure that your flooring maintains its durability and longevity. Remember to use the recommended products and techniques for effective and safe cleaning.
Step 9: Troubleshooting Common Issues
While installing Trafficmaster laminate flooring may seem like a straightforward process, occasionally, you may encounter some common issues. However, there’s no need to worry! This step will guide you through troubleshooting these issues and provide you with tips and solutions to overcome them.
Addressing common issues that may arise during the installation process
During the installation of Trafficmaster laminate flooring, you might come across a few hurdles. Taking the time to address these common issues correctly can save you from potential problems down the road. Let’s take a closer look at some of the most frequently encountered issues during the installation process:
Offering troubleshooting tips and solutions
1. Uneven Subfloor: If you notice an uneven subfloor, it’s important to address it before proceeding with the installation. Here are some steps to rectify this issue:
| Solution | Explanation |
|---|---|
| 1. Sanding | If the subfloor has minor bumps or protrusions, sanding it down can help create a smooth surface. |
| 2. Use a self-leveling compound | If there are significant uneven areas, applying a self-leveling compound can provide a level base for the flooring. |
| 3. Fill gaps with floor-leveling compound | For small gaps, a floor-leveling compound can be used to fill them in and ensure a seamless installation. |
2. Damaged Planks: Sometimes, a plank may get damaged during installation. Here’s how you can address this situation:
- Remove the damaged plank by gently lifting it.
- Replace it with a new one, ensuring it aligns properly with the surrounding planks.
- Secure the new plank in place using an appropriate adhesive or interlocking mechanism.
- Ensure the replacement plank is level with the adjacent ones.
3. Gapping between Planks: If you notice gaps between the installed planks, follow these steps to resolve the issue:
- Check for debris or dirt in the gaps and clean them out.
- Apply a small amount of adhesive in the gaps using a syringe or specialized tool.
- Use a rubber mallet and a tapping block to gently tap the planks together, closing the gaps.
4. Noisy or Creaking Floor: To eliminate noise or creaking sounds coming from your laminate flooring, refer to the following options:
- Ensure the subfloor is even and free from any irregularities that may cause movement and noise.
- Use an underlayment material specifically designed to reduce noise transmission.
- Apply a dry lubricant to the interlocking joints to reduce friction and eliminate creaking.
By troubleshooting these common issues promptly and using the provided tips and solutions, you can ensure a smooth and successful installation of your Trafficmaster laminate flooring.
Step 10: Enjoying Your New Trafficmaster Laminate Flooring
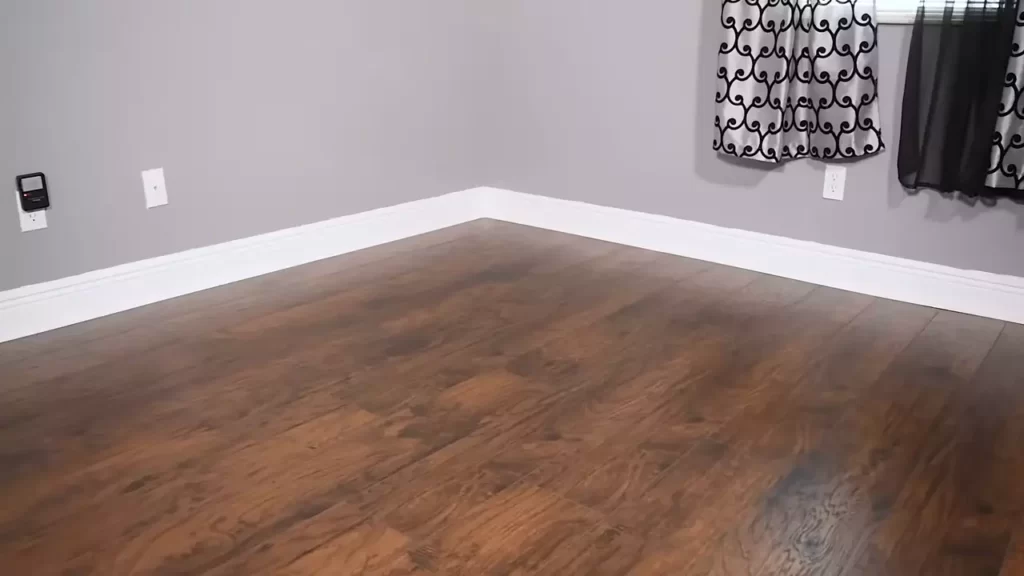
Emphasizing the Benefits and Beauty of Trafficmaster Laminate Flooring
After putting in the time and effort to install your new Trafficmaster laminate flooring, it’s finally time to step back and appreciate the benefits and beauty it brings to your space. Here at Trafficmaster, we take pride in creating high-quality flooring that not only looks stunning but also offers several advantages for homeowners like you.
Let’s take a closer look at some of the reasons why Trafficmaster laminate flooring is a fantastic choice for enhancing your home:
1. Durability and Longevity
One of the standout features of Trafficmaster laminate flooring is its exceptional durability. Whether you have a busy household with kids and pets or you simply want a flooring option that can withstand everyday wear and tear, Trafficmaster laminate is up to the task. Designed to be scratch-resistant and water-resistant, this flooring will maintain its beauty for years to come, even in high-traffic areas.
2. Easy Maintenance
Keeping your new laminate flooring clean and looking its best is a breeze. With Trafficmaster laminate, you won’t need to spend hours scrubbing and polishing. Regular sweeping or vacuuming, along with occasional mopping using a damp cloth or mop, is all it takes to maintain its shine. Say goodbye to extensive cleaning routines and hello to more time enjoying your beautiful flooring!
3. Versatility in Design
When it comes to design options, Trafficmaster laminate flooring truly delivers. Whether you prefer the timeless look of hardwood or the sleek appearance of stone, our extensive range of styles and patterns allows you to find the perfect choice for your home. From warm and inviting tones to modern and contemporary finishes, there’s a Trafficmaster laminate floor to suit every taste and interior design.
Encouraging Readers to Take Pride in Their Installation Accomplishment
Now that you have successfully installed your Trafficmaster laminate flooring, it’s time to take a moment to appreciate the accomplishment. Installing flooring can be a challenging task, but by following our step-by-step guide and putting in the effort, you have transformed your space and added value to your home.
Here are a few reasons why you should feel proud of your installation achievement:
- You saved money by installing the flooring yourself, avoiding the need to hire professional help.
- You gained valuable DIY skills and knowledge that you can apply to future projects.
- You have the satisfaction of knowing that your hard work and effort have paid off in creating a beautiful and functional space.
- Your friends and family will be impressed by your skills and may even seek your advice for their own flooring projects.
So, take a moment to step back, admire your new Trafficmaster laminate flooring, and bask in the sense of achievement that comes with completing a DIY installation. You’ve not only transformed your living space but also proven that with a little determination and guidance, you can tackle home improvement projects with confidence.
Frequently Asked Questions For How To Install Trafficmaster Laminate Flooring
Does Trafficmaster Laminate Flooring Need Underlayment?
Yes, TrafficMaster laminate flooring requires underlayment for proper installation. Underlayment provides additional support, cushioning, and insulation, and helps reduce noise. It also helps to create a smooth and level surface for the laminate flooring to be installed on, ensuring better stability and longevity of the floor.
Which Side Of Laminate Flooring Do You Install First?
The first step in installing laminate flooring is to start with the groove side facing the wall. This ensures a proper fit and allows for expansion.
Do You Need Underlayment For Laminate Flooring?
Yes, you generally need underlayment for laminate flooring. Underlayment helps with cushioning, noise reduction, moisture protection, and smoothing out minor imperfections in the subfloor. It is an important step in ensuring the longevity and performance of your laminate flooring.
Should Laminate Flooring Be Nailed Down?
No, laminate flooring should not be nailed down. It is designed to “float” over the subfloor using a click-and-lock system. Nailing down laminate flooring can cause damage and compromise its integrity.
Conclusion
To sum it up, installing TrafficMaster laminate flooring can be a straightforward and enjoyable process. By following the step-by-step instructions and using the necessary tools, you’ll be able to achieve a professional-looking result. With its durability and affordability, TrafficMaster laminate flooring is a fantastic choice for home improvement projects.
So, go ahead and transform your space, knowing that you’ve installed a reliable and stylish flooring option.

