How to Install Solid Rivets?
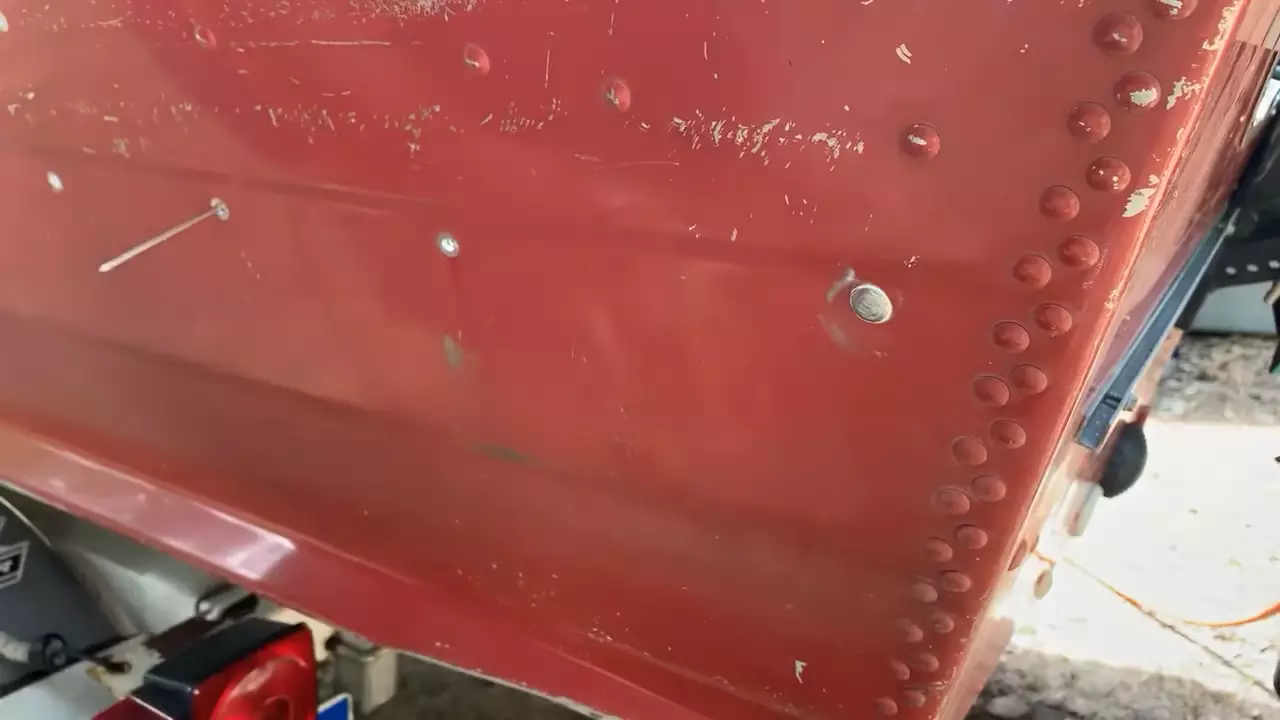
To install solid rivets, start by drilling a hole for the rivet in the materials you want to join. Then, insert the rivet into the hole and use a hammer or rivet gun to secure it from one side until it is tight and flush with the surface.
Solid rivets are commonly used in construction, automotive, and aerospace industries for their strength and durability. They are ideal for joining materials together permanently, providing a secure and long-lasting connection. Proper installation of solid rivets ensures their effectiveness in various applications.
This article will guide you through the step-by-step process of installing solid rivets, helping you achieve reliable and sturdy connections for your projects. Follow these instructions to ensure a successful installation of solid rivets and enjoy the benefits they offer.
Gathering The Necessary Tools And Materials
Before you start the process of installing solid rivets, it is crucial to gather all the necessary tools and materials. This preparation stage ensures that you have everything you need on hand, making the installation process smooth and efficient.
Types of Solid Rivets
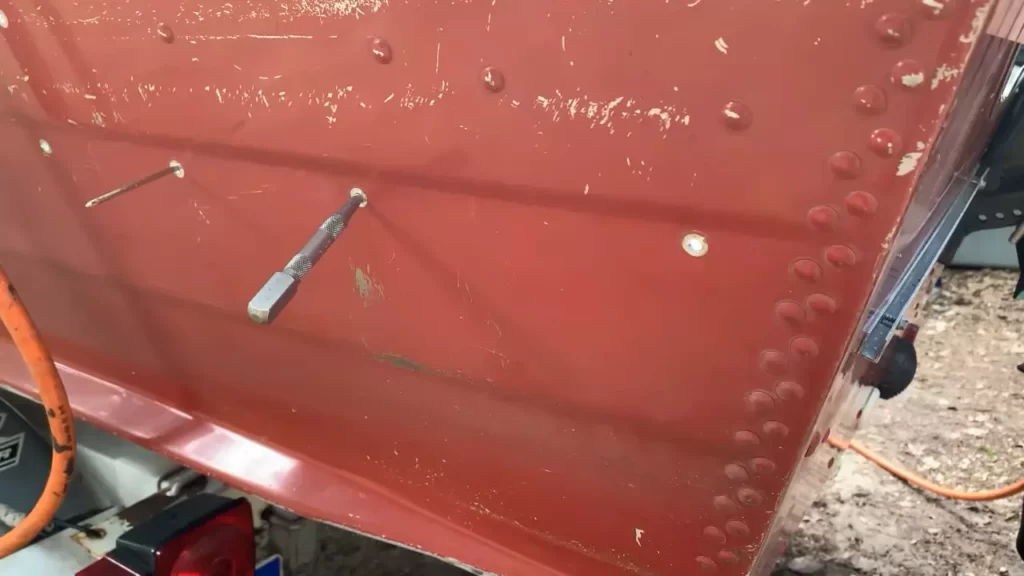
There are various types of solid rivets available, and choosing the right one is essential for a successful installation. Here are some common types of solid rivets:
- Round Head Solid Rivets
- Flat Head Solid Rivets
- Countersunk Head Solid Rivets
- Pan Head Solid Rivets
Depending on the specific application, you may need to select a particular type of solid rivet. Consider factors such as strength, appearance, and accessibility when choosing the appropriate one.
Safety Precautions
Safety should always be a top priority when working with solid rivets. Here are some safety precautions to keep in mind:
- Wear protective eyewear to prevent any potential eye injuries from flying metal pieces.
- Use gloves to protect your hands from sharp edges and to ensure a firm grip on the tools.
- Ensure you are working in a well-ventilated area or wear a mask to avoid inhaling any harmful fumes or particles.
- Keep your work area clean and free of clutter to minimize the risk of accidents.
Tools Required for Installation
Here is a list of tools you will need to install solid rivets:
- Rivet Gun
- Rivet Set
- Drill
- Drill Bits
- Hammer
- Center Punch
- File
- Pliers
Ensure that your tools are in good working condition and clean before starting the installation process. Having all the necessary tools will help you complete the job with precision and efficiency.
Materials Needed for Installation
Aside from the tools, you will also need some materials to install solid rivets. Here is a list of materials you should gather:
- Solid Rivets
- Backing Plate or Bucking Bar
- Sanding Block or Sandpaper
- Clean Cloth
- Deburring Tool
- Rivet Washers (if required)
Having these materials ready will ensure a smooth installation process and a secure finished product. Double-check if you have all the necessary materials before starting the riveting process.
Preparing The Work Area
Before you begin installing solid rivets, it’s essential to prepare your work area properly. This will ensure a safe and efficient installation process. Follow these steps to set up your work area correctly:
Selecting a Suitable Work Surface
Choosing the right work surface is crucial when installing solid rivets. You need a sturdy and stable surface that can withstand the force applied during riveting. Look for a workbench or table that is strong enough to support your project. Avoid using uneven or soft surfaces that can jeopardize the accuracy and effectiveness of your riveting.
Clearing the Area of Clutter
Before you start riveting, make sure to clear the work area of any unnecessary clutter. Remove tools, materials, and debris that could interfere with your work or pose a safety hazard. Keeping the area clean and organized will help you maintain focus and prevent accidents during the installation process.
Setting up Proper Lighting
Good lighting is essential for accurate rivet installation. Ensure that you have sufficient lighting in your work area by setting up proper lighting fixtures or positioning your workbench near a well-lit area. Adequate lighting will enable you to see clearly and avoid any mistakes or mishaps during the riveting process.
By following these steps and preparing your work area adequately, you can create a safe and efficient environment for installing solid rivets. Now that your work area is set up, let’s move on to the next step – gathering the necessary tools and materials.
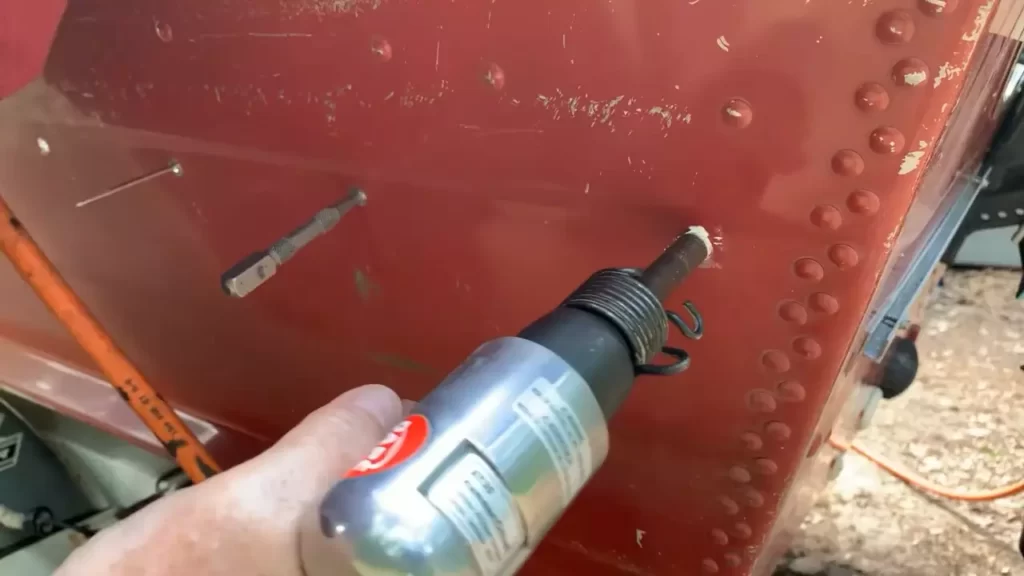
Step-By-Step Guide To Installing Solid Rivets
In this step-by-step guide, we will walk you through the process of installing solid rivets. Solid rivets are commonly used in various applications such as automotive, aerospace, and construction industries. They provide a strong and permanent fastening solution. By following these simple steps, you can confidently install solid rivets with ease.
Removing any existing rivets
The first step in installing solid rivets is to remove any existing rivets that may be in place. Use a drill or rivet removal tool to carefully remove each rivet. It’s important to remove the old rivets completely to ensure a proper installation of the new ones.
Marking the rivet placement
Once you have removed all the old rivets, you’ll need to mark the placement for the new ones. Take a measuring tape and a marker to accurately mark the positions where you want to install the solid rivets. Make sure to double-check your measurements to avoid any errors.
Drilling the rivet holes
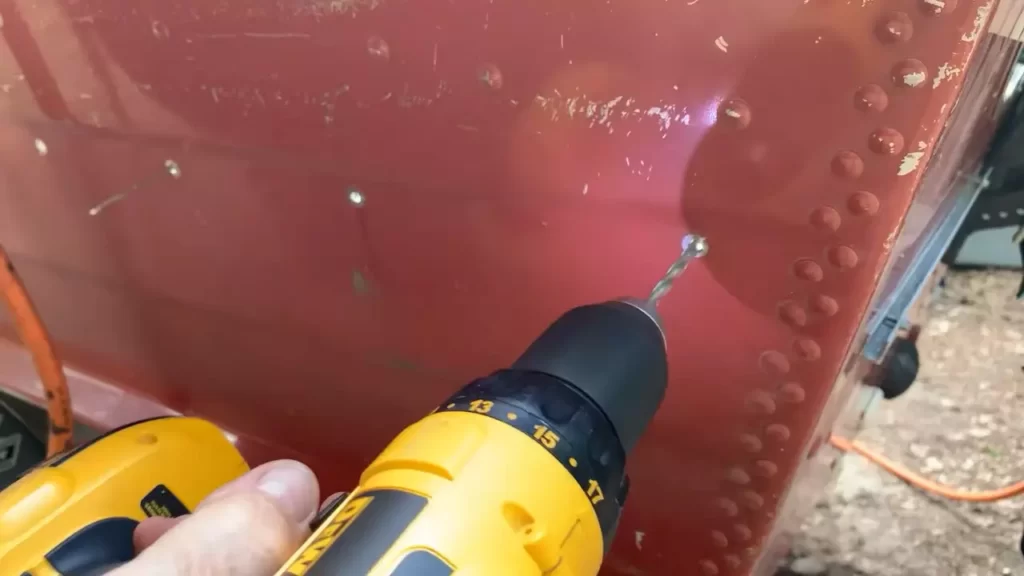
Now it’s time to drill the rivet holes. Use an appropriate drill bit size that matches the diameter of the solid rivets you are using. Carefully drill the holes at the marked positions, ensuring that you maintain a perpendicular angle while drilling. Keep in mind that the size and depth of the holes should match the dimensions of the rivets.
Inserting the rivet
With the holes drilled, it’s time to insert the solid rivets. Place the rivet into the hole, making sure that the head of the rivet is on the visible side of the material. Check that the diameter of the rivet matches the hole size, ensuring a secure fit.
Bucking the rivet
To secure the solid rivet in place, you will need to apply pressure to the unformed end of the rivet. This process is known as bucking. Using a rivet gun or hammer, firmly strike the unformed end of the rivet until it mushrooms and creates a tight bond between the two materials being joined. Be careful not to over-buck the rivet, as this can cause damage to the materials.
Inspecting the installed rivet
Once you have bucked the solid rivet, it’s essential to inspect the installation to ensure it is secure and properly formed. Check that the rivet head is flush with the material surface and that there are no visible gaps or loose connections. If any issues are identified, repeat the necessary steps to achieve a satisfactory installation.
By following this step-by-step guide, you can confidently install solid rivets and achieve a strong and reliable fastening solution. Remember to always use the appropriate tools and follow safety guidelines when working with rivets. With practice and attention to detail, you’ll become skilled at installing solid rivets for your various projects.
Frequently Asked Questions On How To Install Solid Rivets
How Do You Install Solid Rivets Correctly?
To install solid rivets correctly, first, drill a hole in the materials you want to join. Then, insert the rivet through the hole and secure it with a rivet gun by squeezing the handles together. Finally, trim the excess rivet and smooth the surface for a finished look.
What Are The Advantages Of Using Solid Rivets?
Solid rivets offer several advantages. They provide a strong and reliable joint, as they do not rely on adhesives or welding. Solid rivets also have excellent heat resistance and can withstand high temperatures. Additionally, they are durable and resistant to corrosion, making them suitable for various applications.
Can Solid Rivets Be Removed Once Installed?
Yes, solid rivets can be removed, but the process can be challenging. To remove a solid rivet, you need to drill out the center portion of the rivet until you reach the head. Then, you can punch out the remaining part of the rivet.
It’s important to note that removing solid rivets may damage the surrounding material.
Conclusion
Learning how to install solid rivets is a valuable skill for anyone involved in metalworking or construction projects. By following the step-by-step process outlined in this guide, you can ensure a secure and long-lasting connection. Remember to choose the appropriate rivet size and type, prepare the materials correctly, and use the correct tools for the job.
Practice and patience will lead to proficiency with this technique, allowing you to confidently tackle riveting tasks in the future. Keep exploring new projects and honing your skills!

