How to Install Roof Heat Cable?
To install roof heat cable, measure and plan the installation area, secure the cable to the roof edge and gutters using clips, connect the cable to a power source, and test the cable to ensure it is working properly. Roof heat cable can be a valuable addition to your home, especially if you live in an area with heavy snowfall or ice buildup.
Installing roof heat cable can help prevent ice dams from forming on your roof, which can cause damage and leaks. We will guide you through the process of installing roof heat cable on your home. By following these simple steps, you can ensure that your roof is protected and your home is safe and warm during the winter months.
Let’s get started!
Understanding The Purpose Of Roof Heat Cable
In regions with cold and snowy winters, roofs are prone to ice dams and snow buildup. These winter hazards can cause significant damage to your roof, leading to costly repairs. However, installing roof heat cable can provide an effective solution to prevent such damage. Let’s explore the purpose of roof heat cable and how it works to protect your roof.
Protecting your roof from ice dams and snow buildup
Ice dams occur when the heat from inside your home causes snow on the roof to melt. As the melted snow flows down and reaches the colder edges of the roof, it refreezes, forming a thick ridge of ice. Over time, this ice dam can prevent proper drainage of melted snow, resulting in water seeping under the shingles and causing leaks. Roof heat cable is designed to combat this problem.
The primary function of roof heat cable is to create a continuous path for melting snow and ice to flow off the roof, preventing the formation of ice dams. By evenly distributing heat across the roof’s surface, the cable helps maintain a consistent temperature and eliminates the risk of snow buildup. This not only protects your roof but also prevents potential water damage to your home’s interior.
How roof heat cable works to prevent damage
Roof heat cable operates on a thermostatic principle, meaning it automatically turns on and off based on temperature conditions. When the temperature drops below a certain threshold, the cable activates, generating heat to melt ice and snow. Once the temperature rises above the threshold, the cable deactivates, saving energy and ensuring efficient operation.
Roof heat cables are typically installed along the edges of the roof and in key areas prone to ice dams. The cable heats up to prevent snow and ice from accumulating, allowing water to flow freely off the roof. It’s important to position the cable properly to create a clear channel for melted snow and ice to escape.
When installing roof heat cable, it’s crucial to follow the manufacturer’s instructions and safety guidelines. The cable should be installed by a professional who has experience in handling electrical systems. Additionally, regular maintenance and inspection of the cable are essential to ensure its optimal performance.
Preparing For Installation
Before you begin installing roof heat cable, it’s important to properly prepare. This involves assessing your roof’s needs, measuring the length of cable required, and gathering the necessary tools and materials. By taking the time to follow these steps, you can ensure a successful and efficient installation process.
Assessing your roof’s needs
In order to install roof heat cable correctly, you need to assess your roof’s specific needs first. Start by examining the areas prone to ice dam formation, such as the eaves and valleys. Look for signs of existing damage or leaks, as well as areas where ice tends to accumulate. By identifying these vulnerable spots, you can determine the best locations to install the cable.
Additionally, consider the climate in your area. If you experience frequent snowfall or extremely low temperatures, you may need to install more extensive heat cable coverage. On the other hand, moderate climates with occasional ice buildup may only require minimal coverage.
Measuring the length of cable required
Once you’ve assessed your roof’s needs, the next step is to correctly measure the length of cable required. This ensures that you have enough cable to effectively cover your roof without any wastage.
To measure the length of cable needed, start at the point where the power source will be located and follow the path along the eaves and valleys. Measure carefully, taking into account any corners or bends along the way.
It’s important to note that roof heat cables should not overlap or cross one another, as this can result in uneven heating and potential damage. Therefore, make sure to take accurate measurements to avoid any complications during the installation process.
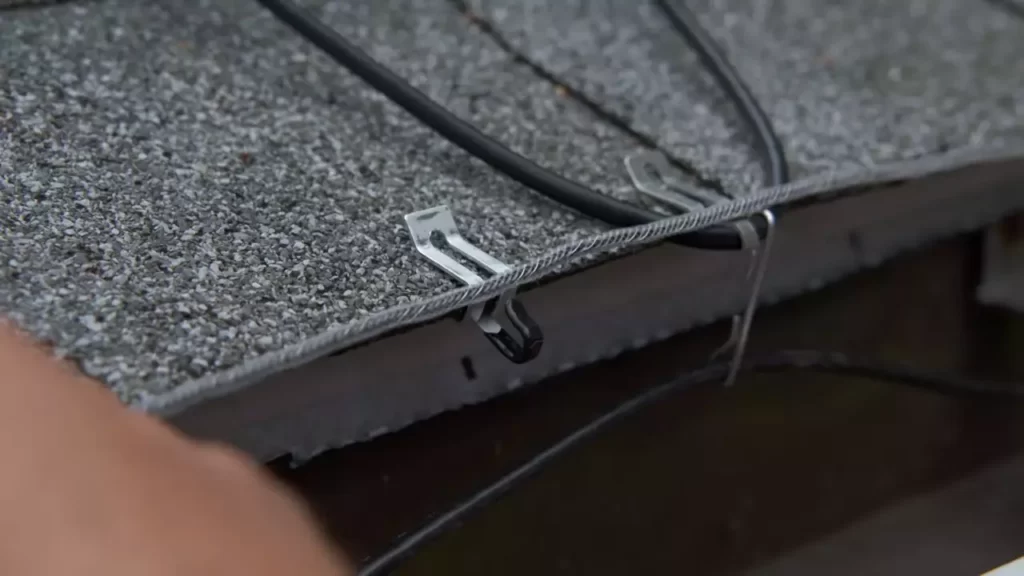
Gathering the necessary tools and materials
To ensure a smooth installation, gather all the necessary tools and materials beforehand. This will save you time and make the process more efficient.
Here is a list of essential tools and materials you’ll need:
- Roof heat cable
- Mounting clips or brackets
- Cable spacers
- Weather-resistant electrical tape
- Screwdriver
- Measuring tape
- Wire cutters
- Power source, such as an outdoor-rated GFCI-protected outlet
Ensure that you have all these tools and materials ready before you begin the installation process. This way, you can work efficiently and complete the project without any interruptions.
Planning The Layout
Identifying trouble areas on your roof
Before you begin installing roof heat cable, it is important to identify the trouble areas on your roof. These trouble areas are typically where ice dams and snow accumulation are most likely to occur. By identifying these areas, you can strategically plan the layout of your cable installation to ensure maximum effectiveness.
Start by examining your roof for areas where ice dams have formed in the past. Look for areas where snow tends to accumulate and where there is a higher risk of ice dams causing damage to your roof or gutters. These trouble areas are usually found near the edges of your roof, in valleys, around skylights, and in areas where there is poor insulation or ventilation.
Mapping out the cable installation pattern
Once you have identified the trouble areas on your roof, it’s time to map out the cable installation pattern. This will help you determine the length of the cable you will need and the most effective placement for each section.
Start by creating a rough sketch or diagram of your roof. Divide the roof into sections based on the trouble areas you identified earlier. This will allow you to focus on each specific area and ensure you cover all the necessary spots.
Next, determine the starting point for your cable installation. It is recommended to begin near the gutters or downspouts and work your way up towards the higher areas of your roof. This will help melt the snow and ice as it drips down, preventing it from refreezing in the trouble areas.
Consider using a color-coded system to mark the areas where the cable will be installed. This will make it easier for you to visualize the installation process and ensure you don’t miss any spots. For example, you can use different colored pencils or markers to indicate the areas near the edges, valleys, and skylights.
Considering the optimal positioning for maximum effectiveness
When planning the layout of your roof heat cable, it is important to consider the optimal positioning for maximum effectiveness. This requires taking into account the specific characteristics of your roof and the trouble areas you identified earlier.
Position the cable as close to the trouble areas as possible without overlapping or crossing over itself. This will ensure that the heat is evenly distributed and concentrated where it is needed the most. Avoid placing the cable too close to the edges or gutters, as this can cause the snow and ice to slide off too quickly, potentially damaging your gutters or causing injury.
Additionally, consider the type of cable you are using and follow the manufacturer’s instructions regarding placement and spacing. Some cables may require specific distances between each section to ensure optimal performance.
Remember to secure the cable to your roof using appropriate clips or fasteners. This will prevent it from shifting or moving during inclement weather conditions.
By planning the layout of your roof heat cable installation, you can ensure maximum effectiveness in preventing ice dams and snow accumulation. Taking the time to identify trouble areas, map out the installation pattern, and consider optimal positioning will help safeguard your roof and gutters from potential damage caused by winter weather.
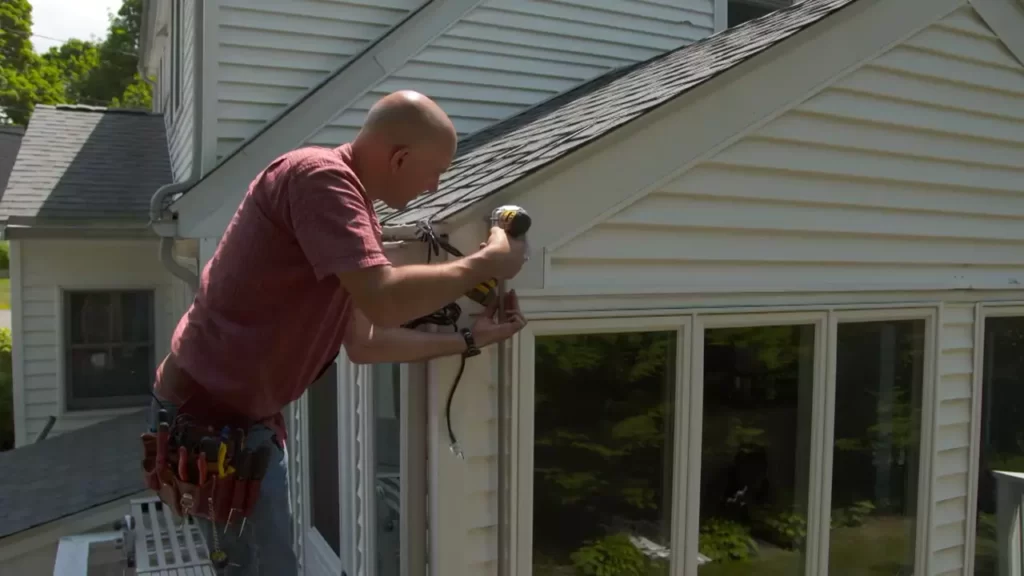
Installing The Roof Heat Cable
Proper installation of roof heat cable is essential to ensure its effectiveness in preventing ice dams and protecting your roof. This section will guide you through the step-by-step process of installing the roof heat cable, starting with clearing debris and cleaning the roof surface.
Clearing debris and cleaning the roof surface
Before installing the roof heat cable, it is crucial to clear any debris that may obstruct the cable’s path and clean the roof surface. Here are the steps to follow:
- Start by removing any loose branches, leaves, or other debris from the roof. This will prevent any obstructions that could hamper the cable’s effectiveness.
- Use a broom or a leaf blower to clear the roof surface of smaller debris, ensuring it is clean and free from any dirt or dust.
- If you encounter stubborn dirt or moss, consider using a roof cleaner and a soft brush to gently scrub the affected areas. Rinse with water and allow the roof to dry completely before proceeding to the next step.
Securing the cable to predetermined areas
Once the roof surface is clean and debris-free, it’s time to secure the roof heat cable. Follow these steps:
- Identify the areas where the roof heat cable needs to be installed, such as the eaves, valleys, and other vulnerable spots.
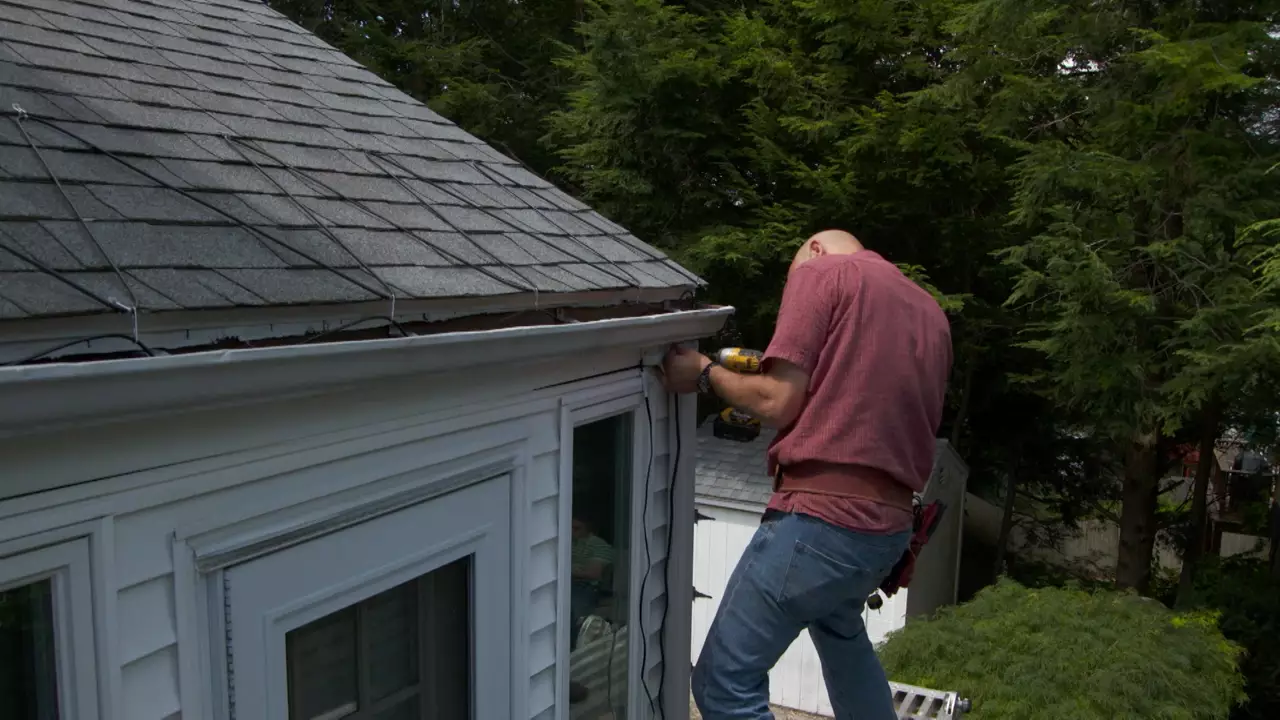
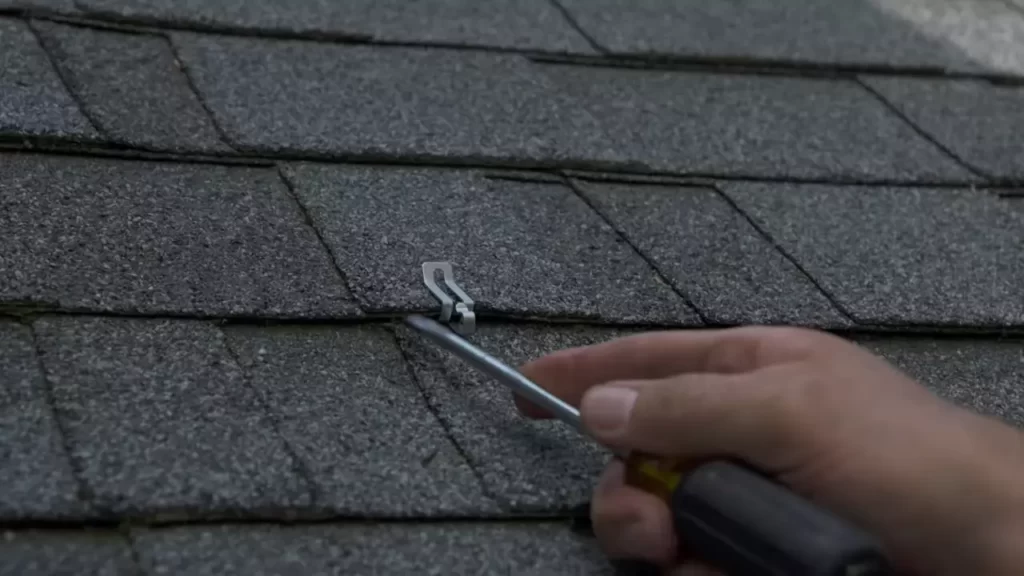
- Using cable clips or adhesive heat tape, secure the cable to these predetermined areas, making sure to leave a sufficient distance between each clip or tape for optimal heat distribution.
- Ensure that the cable is evenly spaced along the roof surface, paying special attention to critical areas where ice dam formation is more likely.
Routing the cable around obstacles and downspouts
Routing the roof heat cable around obstacles and downspouts is crucial to provide comprehensive coverage and prevent ice dam formation. Follow these steps:
- Identify any obstacles, such as chimneys or vent pipes, that may be present on the roof.
- Carefully route the cable around these obstacles, maintaining an even distance from the surface and ensuring it does not interfere with any existing rooftop features.
- When encountering downspouts, make sure to route the cable in a way that covers the proximity of the downspout, allowing for efficient heat distribution and preventing ice buildup.
By following these steps, you can install a roof heat cable effectively and provide protection against ice dams. Remember to consult the manufacturer’s instructions for specific guidelines related to your cable’s installation. With a properly installed roof heat cable, you can enjoy peace of mind knowing that your roof is protected during the winter months.
Connecting And Powering The System
Now that you have properly installed the roof heat cable and positioned it on your roof, it’s time to connect and power the system. This is a crucial step to ensure the efficient operation of your roof heat cable and provide maximum protection against ice dams.
Ensuring proper electrical connections
Before getting started, it’s essential to ensure that all electrical connections are properly made. Improper connections can lead to malfunctions or potential hazards. Follow the steps below to ensure a secure and reliable electrical connection:
- Gather the necessary tools: To begin, collect the tools required for the electrical connection, including wire cutters, wire strippers, and wire nuts.
- Strip the cable ends: Use the wire strippers to remove approximately 1 inch of the outer insulation from both ends of the roof heat cable. This will expose the inner wires for connection.
- Connect the roof heat cables: Align the exposed wires from both ends of the cable and twist them together. Make sure the connection is tight and secure.
- Seal the connection: Once the wires are twisted together, use a wire nut to cover the connection and ensure it is completely enclosed. This step is crucial for protecting the connection from moisture and other elements.
- Repeat for multiple cables: If you have multiple roof heat cables to connect, repeat the above steps for each one.
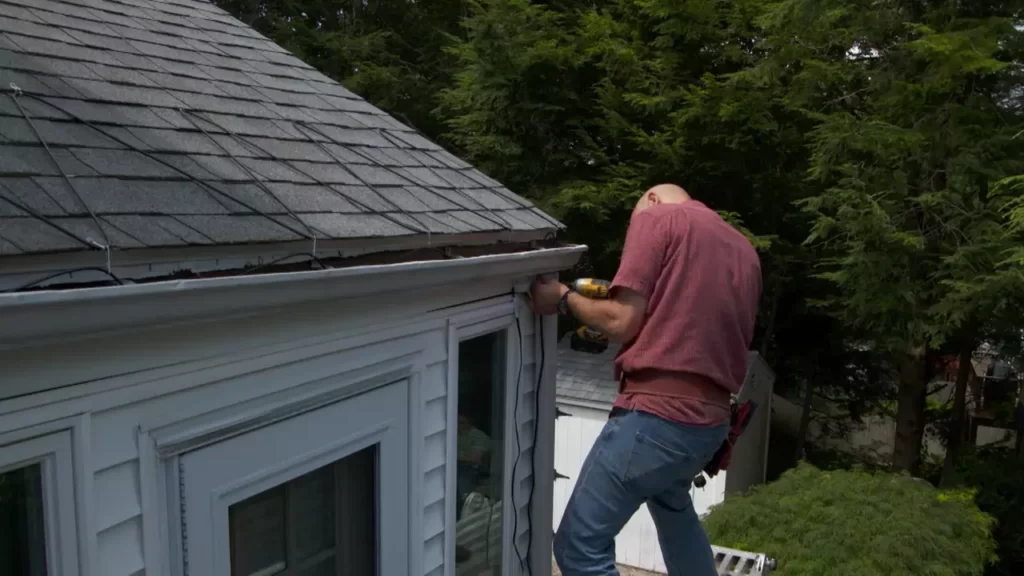
Determining the power requirements for the cable
One of the critical aspects of properly connecting and powering your roof heat cable is understanding the power requirements. Each cable has specific power requirements that determine how much electricity it will consume. Consider the following steps:
- Refer to the manufacturer’s instructions: Check the manufacturer’s guidelines and instructions that come with the roof heat cable for the exact power requirements. This will help you determine the appropriate power source and ensure safe operation.
- Consult an electrician if needed: If you are unsure about the power requirements or electrical connections, it’s best to consult a licensed electrician. They will have the expertise to guide you through the process and ensure it is done correctly.
Testing the system before sealing the connections
Before you seal the electrical connections and consider the installation complete, it is crucial to test the roof heat cable system. Testing will ensure that all connections are functioning correctly and that the cables are receiving power. Follow these steps to test the system:
- Connect the cable to the power source: Plug in the roof heat cable to the designated power source or outlet. Ensure that the power source is compatible with the cable’s power requirements.
- Observe the cable: After connecting to the power source, observe the roof heat cable to see if it is warming up. This indicates that power is flowing correctly through the system.
- Check for any issues: During the testing phase, keep an eye out for any unusual signs such as sparking, overheating, or disconnections. If you notice any problems, immediately disconnect the power source and reassess the installation.
After conducting the necessary tests and ensuring that the system is functioning correctly, you can proceed to seal the connections and secure the cables in place. Remember, if you encounter any difficulties or uncertainties during the process, do not hesitate to seek professional assistance. It’s better to ensure the job is done correctly to protect your roof and prevent potential damage caused by ice dams.
Winter Maintenance And Troubleshooting
Winter can bring many challenges for homeowners, including the formation of ice dams on their roofs. These ice dams can cause significant damage, leading to leaks and roof deterioration. That’s why it’s crucial to take preventive measures and ensure the proper functioning of roof heat cables during the winter months. In this section, we will discuss winter maintenance and troubleshooting tips for roof heat cable installations.
Monitoring the performance of the roof heat cable
Regularly monitoring the performance of your roof heat cable is essential to ensure it is functioning optimally. Here are a few steps you can take to assess its performance:
- Visually inspect the cable for any visible damage or wear and tear.
- Monitor the snow melting patterns on your roof. If you notice uneven melting or areas where snow remains while surrounding areas have melted, it could be an indication of an issue with the heat cable.
- Check the temperature of the cable during extreme weather conditions. A properly functioning heat cable should feel warm to the touch.
- Keep an eye on your energy bills. If you notice a sudden spike in energy usage, it could be due to a malfunctioning roof heat cable.
Taking necessary steps to prevent ice dam formation
Preventing ice dams from forming in the first place is key to maintaining a safe and secure roof. Here are some preventive measures you can take:
- Ensure proper insulation in your attic. Adequate insulation helps to maintain a consistent temperature on your roof, preventing snow from melting and refreezing at the eaves.
- Seal any air leaks in your attic, such as gaps around chimneys, vents, or light fixtures. These leaks can allow warm air to escape and contribute to ice dam formation.
- Clean your gutters and downspouts regularly to allow for proper water drainage. Clogged gutters can contribute to ice dam formation.
- Install a roof heat cable system that covers the eaves, valleys, and any areas prone to ice dam formation. This will provide a consistent source of heat to prevent ice dams from forming.
Troubleshooting common issues and seeking professional help if needed
Even with regular maintenance and preventive measures, issues can arise with roof heat cable systems. If you encounter any problems, it is important to troubleshoot them promptly and seek professional help if necessary. Here are some common issues you may encounter:
| Issue | Possible Cause | Solution |
|---|---|---|
| The cable is not heating up | Malfunctioning cable or connection | Check for loose or damaged connections. If the issue persists, contact a professional to assess and repair the cable. |
| The cable is overheating | Improper installation, excessive cable length, or damaged insulation | Ensure the cable is installed according to the manufacturer’s guidelines. If the cable is too long, consider shortening it. If the insulation is damaged, contact a professional for repair. |
| Uneven snow melting | Insufficient cable coverage or damaged cable | Assess the coverage of the cable and ensure it is evenly distributed. If there are damaged sections, repair or replace them as needed. |
Remember, if you encounter any issues that you are unsure how to handle, it is always best to seek professional help. They have the knowledge and expertise to properly diagnose and address any problems with your roof heat cable system.
By regularly monitoring the performance of your roof heat cable, taking necessary preventive steps, and promptly addressing any issues that arise, you can ensure a winter season free from ice dam troubles. Don’t forget to perform these maintenance tasks before winter arrives to enjoy a well-protected home throughout the colder months.
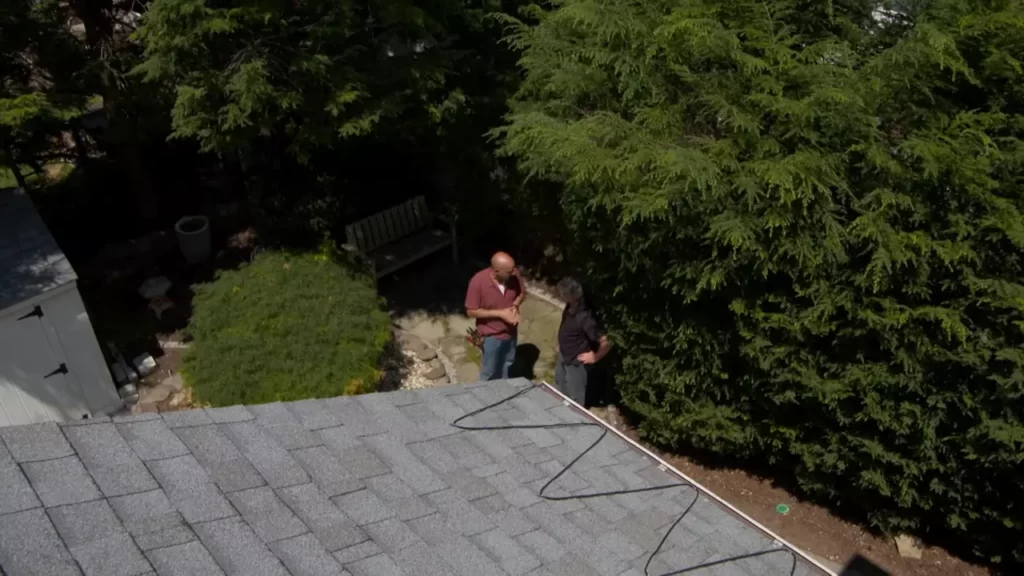
Safety Guidelines And Best Practices
Installing roof heat cable can be a wise decision to prevent ice dams and icicles during cold winter months. However, it is essential to follow safety guidelines and best practices to ensure a successful and secure installation. This section focuses on the necessary precautions, understanding electrical risks involved, and maintaining the cable system for long-term efficiency and safety.
Following safety precautions during installation
- Before starting the installation process, make sure to wear protective gear, including safety goggles and gloves, to prevent any potential hazards.
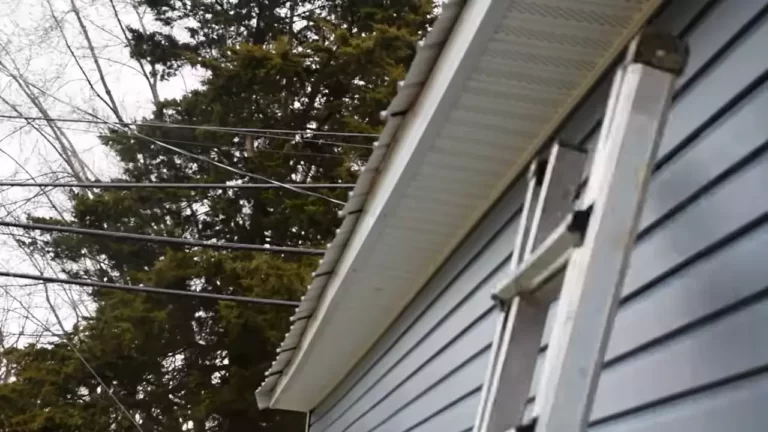
- Keep in mind that working on rooftops can be dangerous, so ensure that the ladder used for access is stable and in good condition.
- Weather conditions can dramatically affect your safety. Therefore, it is advisable to avoid installation during adverse weather conditions such as rain, snow, or strong winds.
- Prioritize your safety by always working with a partner or having someone present nearby who can assist in case of an emergency.
Understanding the electrical risks involved
Electrical safety is of utmost importance when installing a roof heat cable. Here are some key points to keep in mind:
- Ensure that all electrical connections are made following the manufacturer’s instructions. Any loose or faulty connections can result in electrical hazards.
- Double-check the power supply for the cable system and ensure it is properly grounded. This step is essential to prevent the risk of electric shock.
- Avoid touching the cable when it is energized or wet to prevent electrocution. Remember to always turn off the power before performing any maintenance or repairs.
- If you are unsure about any aspect of the electrical installation, it is always best to consult a licensed electrician to ensure your safety and the safety of your home.
Maintaining the cable system for long-term efficiency and safety
To ensure the long-term efficiency and safety of your roof heat cable system, follow these maintenance guidelines:
- Regularly inspect the cable system for any signs of wear, damage, or loose connections. Address any issues promptly to prevent further damage.
- Clear any debris, snow, or ice accumulation from the cable system to ensure proper functionality.
- Monitor the system during extreme weather conditions such as heavy snowfall to ensure it is working correctly.
- Consider using a roof rake to safely remove excessive amounts of snow from the roof, reducing the load on the cable system.
By following these safety guidelines and best practices while installing and maintaining your roof heat cable system, you can ensure both efficiency and safety throughout the winter months.
Frequently Asked Questions Of How To Install Roof Heat Cable
How Does A Roof Heat Cable Work?
A roof heat cable uses electricity to generate heat, which then melts snow and ice on the roof. It is typically installed in a zigzag pattern along the roof’s edges and gutters to create a pathway for the melted water to flow safely away from the roof.
Why Should I Install A Roof Heat Cable?
Installing a roof heat cable can prevent ice dams from forming on your roof. Ice dams can cause significant damage by blocking water flow, leading to leaks and even structural issues. By melting snow and ice, a roof heat cable helps to maintain a safe and dry roof, preventing potential water damage.
How Do I Install A Roof Heat Cable?
To install a roof heat cable, start by planning the cable layout along the roof’s edges and gutters. Secure the cable in place using clips or adhesive. Connect the cable to a power source and make sure to follow the manufacturer’s guidelines for spacing and installation orientation.
It is recommended to hire a professional for safe and proper installation.
How Much Does It Cost To Install A Roof Heat Cable?
The cost of installing a roof heat cable can vary depending on factors such as the size and complexity of your roof, the type of cable you choose, and the labor involved. Generally, the cost can range from a few hundred to a few thousand dollars.
It is best to consult with a professional to get an accurate estimate for your specific situation.
Conclusion
Installing roof heat cable can be a game changer for homeowners in colder climates. With proper installation and maintenance, you can prevent ice dams and protect your roof from potential damage. By following the steps outlined in this blog post and understanding the importance of safety precautions, you can successfully install roof heat cable on your own.
Remember, always consult with a professional if you are unsure or if the installation seems too complicated. Start enjoying the benefits of a well-protected roof today!

