How to Install Mirror Clips?
To install mirror clips, first, measure and mark the desired placement on the wall. Then, drill pilot holes and attach the clips with screws.
Looking to hang a mirror securely and safely? Installing mirror clips can be a simple and effective solution. Whether you’re decorating your home or office, ensuring that your mirror is securely mounted is essential for both aesthetics and safety. We will guide you through the step-by-step process of installing mirror clips.
You’ll learn how to measure and mark the placement, drill pilot holes, and securely attach the clips with screws. By the end, you’ll have the knowledge and confidence to install mirror clips like a pro. So, let’s get started!
Required Tools And Materials
Before you start installing mirror clips, it’s important to make sure you have all the necessary tools and materials. Having everything at hand will save you time and ensure a smooth installation process. Here are the items you’ll need:
Screwdriver
A screwdriver is an essential tool for installing mirror clips. It allows you to tighten screws securely, ensuring that the mirror stays securely in place. A Phillips-head screwdriver is typically recommended for this task.

Measuring tape
A measuring tape is crucial for determining the exact placement of the mirror clips. Accurate measurements are important to ensure that the mirror is level and centered on the wall. Use the measuring tape to measure the desired height and width for the mirror installation.
Pencil
A pencil is handy for marking the exact locations where the mirror clips will be attached to the wall. This will guide you during the installation process and guarantee that the clips are placed correctly.
Level
A level is useful for ensuring that the mirror is straight and level on the wall. By placing the level on the mirror’s edges, you can easily adjust the position of the clips to achieve a balanced and aesthetically pleasing installation.
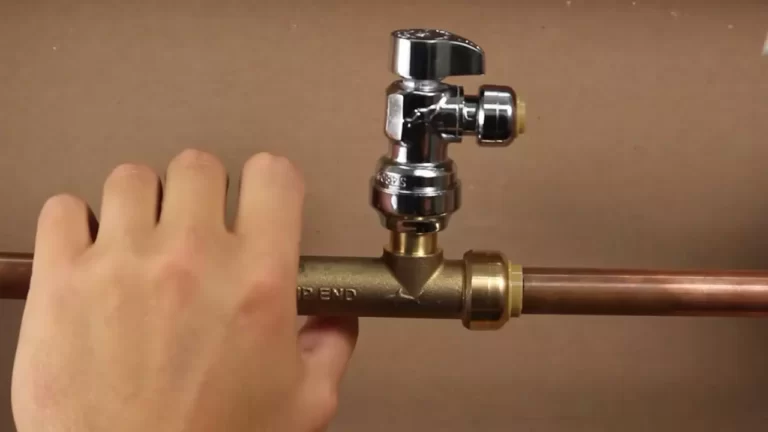
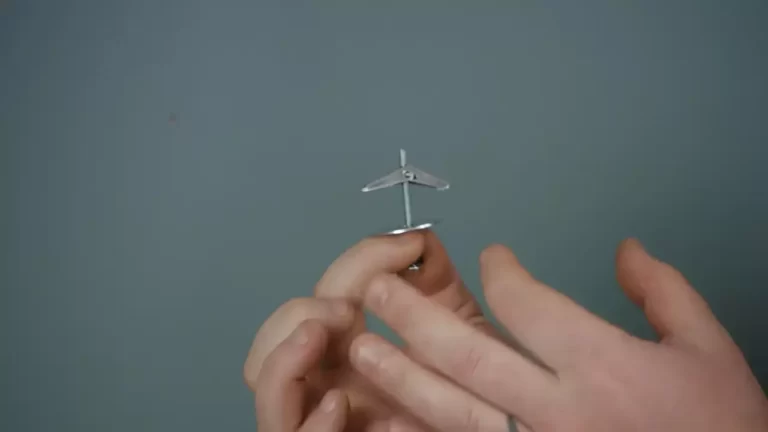
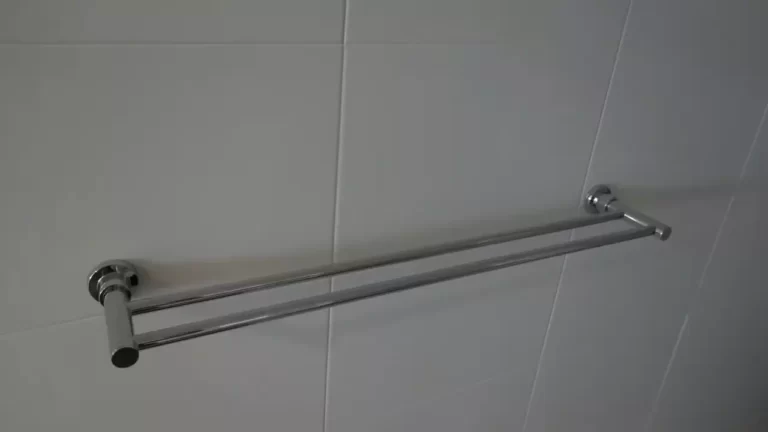
Mirror clips
Of course, you’ll need the mirror clips themselves. These small metal or plastic clips are specifically designed to hold the mirror securely against the wall. Make sure you choose clips that are suitable for the thickness and weight of your particular mirror.
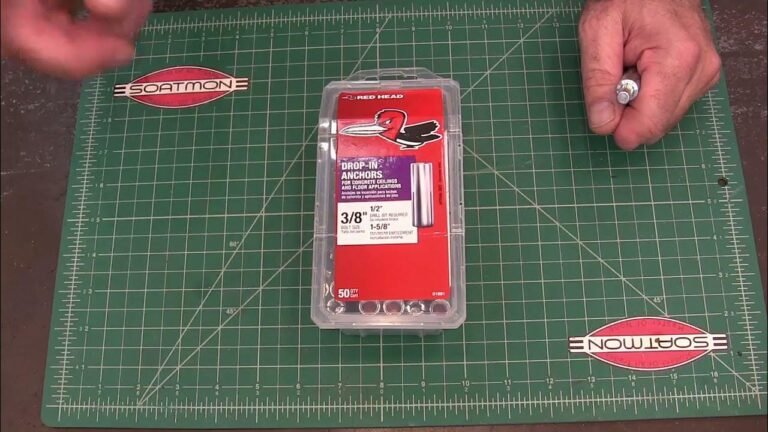
Screws
Lastly, you’ll need screws to attach the mirror clips to the wall. It’s important to choose screws that are suitable for the type of wall you are working with. Drywall screws are commonly used, but if you have a different wall material, consult a hardware store professional for the appropriate screws.

Preparing For Installation
Before you begin the installation process for your mirror, it’s crucial to properly prepare. This step ensures a seamless and secure installation, leaving you with a mirror that not only looks stunning but also hangs securely on your wall. Follow these subheadings to ensure a hassle-free installation.
Measure the Mirror Dimensions
To start off, accurately measure the dimensions of your mirror. Use a tape measure and measure the length and width of the mirror to determine its size. Jot down these measurements as they will come in handy for selecting suitable mirror clips.
Select Suitable Mirror Clips
Once you have the dimensions noted, it’s time to find mirror clips that are suitable for your mirror’s size and weight. Choose mirror clips that are sturdy, durable, and capable of supporting the weight of your mirror. Remember to consider the style and design of the clips to ensure they complement your mirror and overall decor. Pro tip: Opt for clips with rubber or foam padding to prevent any damage to the mirror.
Mark the Position for Clips on the Wall
Now that you have your mirror clips, mark the position on the wall where you will be mounting them. Use a pencil or marker to create small dots or marks on the wall, corresponding to the chosen locations for the mirror clips. Make sure the marks are evenly spaced and level to ensure an even distribution of weight.
Double-Check the Accuracy of Measurements
Before you proceed with installing the mirror clips, it’s essential to double-check the accuracy of your measurements. Measure the distance between the marked positions on the wall to ensure they match the dimensions of your mirror. This extra step helps guarantee that your mirror will hang perfectly straight and securely on the wall.
By following these steps to prepare for mirror clip installation, you are setting the foundation for a successful and hassle-free process. Taking the time to measure, select appropriate clips, and mark the wall position ensures a secure and visually pleasing result.
Installing Mirror Clips
Installing mirror clips is a simple and effective way to securely hang mirrors on your walls. Whether you’re decorating a bathroom, bedroom, or living room, properly installing mirror clips will ensure that your mirror stays in place and adds a touch of style to your space. In this guide, we’ll walk you through the step-by-step process of installing mirror clips.

Step 1: Position the first mirror clip
- Determine the top position of the mirror clip.
Start by deciding where you want the top of your mirror to be. Use a measuring tape to determine the desired height and mark it on the wall.
- Mark the spot on the wall.
Using a pencil, mark the exact spot on the wall where the top of the mirror clip will be positioned.
- Drill a pilot hole for the screw.
Using an appropriate drill bit, carefully drill a pilot hole into the marked spot on the wall. Make sure the hole is slightly smaller than the diameter of the screw.
- Install the mirror clip.
Take the first mirror clip and align it with the pilot hole. Insert the screw into the hole and use a screwdriver or drill to tighten it. Ensure that the clip is securely attached to the wall.
Step 2: Position the second mirror clip
- Measure the distance between the first and second clip.
Using a measuring tape, measure the desired distance between the first mirror clip and the second mirror clip. This will ensure that your mirror hangs straight and level.
- Mark the spot on the wall.
Mark the exact spot on the wall where the second mirror clip will be positioned. Make sure it aligns with the distance measured in the previous step.
- Drill a pilot hole.
Drill a pilot hole into the marked spot on the wall, following the same process as in Step 1.
- Install the second clip.
Align the second mirror clip with the pilot hole and securely attach it to the wall with the screw.
Step 3: Position the remaining mirror clips
- Measure and mark the positions of the remaining clips.
Using the same measuring tape and process as in Step 2, measure and mark the positions for the rest of the mirror clips. Ensure they are evenly spaced for a balanced look.
- Drill pilot holes and install the clips.
Drill pilot holes into the marked spots and attach the remaining mirror clips to the wall using screws, following the same steps as in the previous steps.
By following these simple steps, you can easily install mirror clips and hang mirrors securely on your walls. Remember to measure carefully, drill pilot holes, and ensure each mirror clip is securely attached to the wall. Enjoy the functionality and style that mirrors can bring to your space!

Securing The Mirror
After successfully attaching the mirror clips to the wall in the previous steps, it’s now time to securely fasten the mirror onto these clips. Proper installation is crucial to ensure the mirror stays in place and doesn’t pose any safety risks. In this section, we will discuss the steps to securely attach the mirror and make sure it is aligned correctly.
Step 4: Place the mirror on the clips
Carefully lift and place the mirror on the bottom clips. Begin by lifting the mirror with both hands, making sure to support the bottom edge. Line up the bottom edge of the mirror with the bottom clips on the wall. This will act as the base for the mirror’s attachment.
Gently tilt the mirror and slide it down onto the top clips. Once the bottom edge is aligned with the bottom clips, carefully tilt the mirror towards you at a slight angle. This will allow you to easily slide the mirror down onto the top clips. Avoid applying too much pressure or force to prevent any accidental damage.
Ensure proper alignment and centered position. As you lower the mirror onto the clips, check for proper alignment. Make sure the mirror is centered both horizontally and vertically and is level with the surrounding area. Take your time to adjust the position if necessary before moving on to the next step.
Step 5: Tighten the screws
Use a screwdriver to tighten the screws on each mirror clip. Once the mirror is properly aligned and positioned, it’s time to secure it in place. Take a screwdriver and carefully tighten the screws on each mirror clip. Ensure that the screws are tightened firmly but avoid over-tightening, as it may damage the clips or the mirror.
Ensure that the mirror is securely held in place. After tightening all the screws, double-check that the mirror is securely held in place. Gently press against the mirror to test its stability. If there is any wobbling or movement, recheck the installation and make the necessary adjustments until the mirror feels stable and secure.
Step 6: Check for stability
Gently shake the mirror to test its stability. To ensure the mirror is securely installed, gently shake it to check for any movement or instability. If the mirror stays in position without any wobbling, it indicates a stable installation.
Make any necessary adjustments to the clips or screws. In case you notice any instability or movement during the stability check, it’s important to make the necessary adjustments. Check if any screws need further tightening or if the clips require repositioning. By addressing these issues promptly, you can ensure the mirror remains securely attached to the wall.
By following these steps, you can safely and securely install mirror clips and ensure that your mirror stays in place for years to come. Remember to take your time during each step to ensure proper alignment and stability.

Final Touches
After successfully installing the mirror clips, it’s time to add the finishing touches to ensure a perfect result. This step-by-step guide will walk you through the final steps of installing mirror clips to ensure a clean and professional finish.
Step 7: Clean the mirror surface
Before admiring your newly installed mirror, it’s important to clean the surface to remove any smudges or fingerprints that may have accumulated during the installation process. Cleaning the mirror will enhance its appearance and provide a clear and shiny surface for reflection.
Use glass cleaner and a soft cloth to clean the mirror. Spray a small amount of glass cleaner onto the cloth, making sure not to oversaturate it. Gently wipe the cloth across the mirror surface, starting from the top and working your way down.
Be cautious not to apply too much pressure or use abrasive materials that could scratch the mirror. Instead, use a gentle touch and a soft cloth to achieve a streak-free finish.
Step 8: Inspect the installation
After cleaning the mirror surface, it’s essential to inspect the installation for any loose screws or clips. This will help ensure the mirror remains securely in place and prevent any potential accidents.
Check each screw and clip to make sure they are tightened appropriately. If you notice any loose components, use a screwdriver or pliers to tighten them until they are secure.
Additionally, verify that the mirror is level and properly aligned. Stand back and examine the mirror from different angles to ensure it is perfectly straight. If necessary, make any final adjustments to achieve the desired alignment.
By following these final steps, you can ensure a flawless mirror installation that not only enhances the aesthetics of your space but also provides a functional and attractive reflection.
Frequently Asked Questions On How To Install Mirror Clips
How Do You Install Mirror Clips?
To install mirror clips, first, determine the placement of the mirror on the wall. Then, attach the clips to the wall using screws or adhesive. Slide the mirror into the clips and make sure it is secure. Finally, check the alignment and tighten the clips if necessary.
What Tools Do You Need To Install Mirror Clips?
To install mirror clips, you will need a few basic tools. These include a tape measure to determine the placement, a screwdriver or drill to attach the clips, a level to ensure the mirror is straight, and a pencil or marker to mark the positions of the clips on the wall.
Are Mirror Clips Necessary For Hanging Mirrors?
Yes, mirror clips are necessary for hanging mirrors as they provide support and stability. They help prevent the mirror from sliding or falling off the wall. Additionally, mirror clips distribute the weight of the mirror evenly, reducing the risk of damage or accidents.
Invest in high-quality clips for a secure installation.
Conclusion
In a nutshell, installing mirror clips is a simple and efficient process that can greatly enhance the stability and appearance of your mirrors. By following the step-by-step instructions provided in this guide, you can confidently tackle this task without the need for professional assistance.
With the right tools and proper technique, your mirrors will remain securely in place, offering both practical and aesthetic benefits in your space. Upgrade your mirror game today!