How to Install Foam Crown Molding?
To install foam crown molding, measure and cut the molding to fit your wall, apply adhesive, and press it firmly against the wall. The installation process is simple and can be completed in a few easy steps.
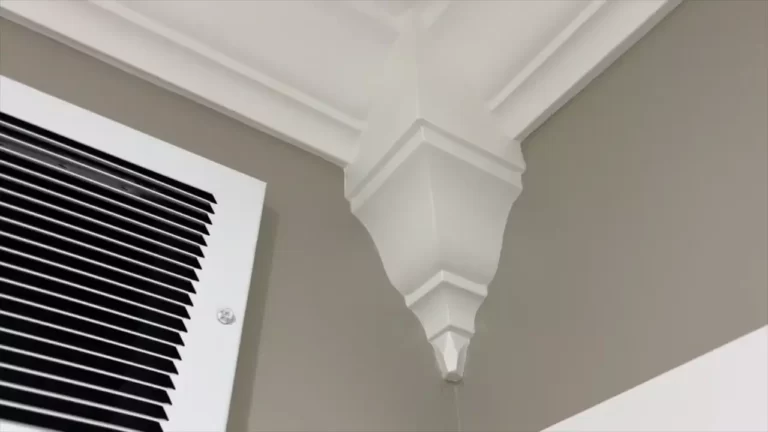
Foam crown molding is an affordable and easy way to add a touch of elegance to your home. Whether you’re looking to upgrade your living room or enhance your bedroom, foam crown molding can transform any space. This lightweight molding is made from high-density polyurethane foam, making it easy to handle and install.
In addition, foam crown molding is resistant to moisture, rot, and insects, making it a durable option for any room. So, if you’re ready to give your home a sophisticated look without breaking the bank, read on to learn how to install foam crown molding.
Choosing The Right Foam Crown Molding
Selecting the perfect foam crown molding for your project can be a daunting task. With various options available in the market, it’s important to consider factors that can help you make an informed decision. In this section, we will explore different types of foam crown molding options and discuss the key factors to consider when selecting your molding materials.
Different types of foam crown molding options
When exploring foam crown molding options, it’s crucial to understand the different types available. This will enable you to choose the one that best suits your needs and complements your space. Here are a few popular options:
- Polystyrene foam crown molding: This type of molding is lightweight and easy to install. It is a cost-effective option that offers a wide range of design possibilities. Polystyrene foam molding is ideal for both interior and exterior applications.
- Polyurethane foam crown molding: Known for its durability and versatility, polyurethane foam molding is a popular choice among homeowners and professionals alike. It is resistant to moisture and can be easily customized to achieve intricate designs.
- Expanded polystyrene foam crown molding: If you’re looking for budget-friendly options, expanded polystyrene foam molding might be the right choice for you. It offers a great balance between affordability and aesthetics, making it a suitable option for various projects.
Factors to consider when selecting foam crown molding materials
Now that you have an idea about the different types of foam crown molding options, it’s time to consider the factors that can help you choose the right materials for your project. Here are some key factors to keep in mind:
- Style and design: Consider the overall style and design of your space. Ensure the foam crown molding you choose complements the existing decor and enhances the aesthetic appeal of the room.
- Size and dimensions: Measure the dimensions of your space and determine the size of the molding required. It’s important to select molding that fits perfectly and provides a seamless finish.
- Installation process: Evaluate your DIY skills and the complexity of the installation process. Some foam crown molding options require professional assistance, while others can be easily installed by homeowners.
- Longevity and durability: Assess the durability of the foam crown molding materials. Consider the moisture levels, exposure to sunlight, and the potential impact the molding may endure over time to ensure it remains in good condition.
- Budget: Determine your budget and explore foam crown molding options within your price range. While affordability is important, ensure you don’t compromise on quality and aesthetics.
By considering these factors and exploring the different types of foam crown molding available, you can make an informed decision and select the perfect molding materials for your project. Remember to take your time, do thorough research, and select a reliable supplier to ensure the best outcomes.
Preparing The Area For Installation
Before you begin installing foam crown molding, it is important to prepare the area properly to ensure a smooth and successful installation. This involves cleaning the mounting surface and removing any existing molding or trim that may be in place.
Cleaning the Mounting Surface
To ensure proper adhesion of the foam crown molding, it is essential to clean the mounting surface thoroughly. Start by removing any dirt, dust, or debris using a damp cloth or sponge. Pay close attention to corners and edges where buildup may occur.
If the surface is particularly dirty or greasy, consider using a mild detergent solution to remove any stubborn stains or residue. Make sure to rinse the surface well and allow it to dry completely before proceeding with the installation.
Removing Any Existing Molding or Trim
If there is any existing molding or trim in place, it must be removed before installing the foam crown molding. Use a pry bar or a putty knife to gently pry away the molding from the wall or ceiling.
Take caution while removing the molding to avoid any damage to the wall or ceiling surface. If necessary, use a utility knife to cut through any caulk or adhesive that may be holding the molding in place.
Once the molding is removed, ensure that the mounting surface is clean and free from any leftover adhesive or caulk. Use a putty knife or sandpaper to smooth out any rough areas.
Remember, to achieve a flawless and professional-looking installation, it is crucial to have a clean and smooth mounting surface. Taking the time to properly prepare the area will greatly contribute to the overall success of your foam crown molding project.
Measuring And Cutting The Foam Crown Molding
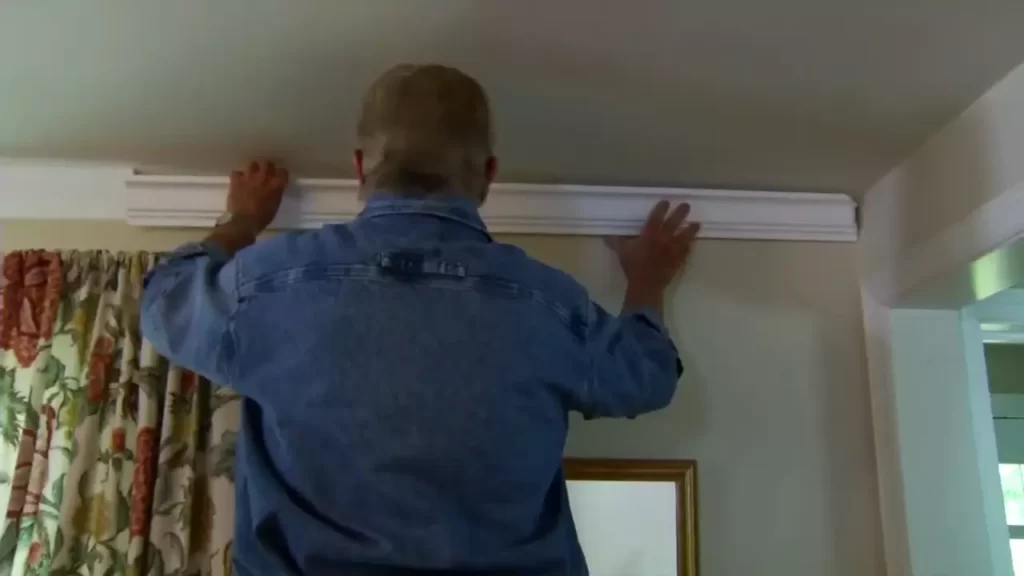
When it comes to installing foam crown molding, one of the most important steps is correctly measuring and cutting the molding to ensure a perfect fit. In this section, we will cover the essential techniques for measuring and cutting foam crown molding.
Measuring techniques for accurate sizing
To achieve accurate measurements for foam crown molding, it is crucial to follow a few key techniques. By doing so, you can ensure that each piece of molding is precisely sized, reducing the chance of any gaps or overlaps.
Here are some effective measuring techniques to follow:
- Begin by identifying the section of the wall where you plan to install the foam crown molding. Make sure the surface is clean and free of any debris before measuring.
- Use a measuring tape to measure the length of the wall where the molding will be installed. Take the measurements from one corner to another, ensuring accuracy by reaching the measuring tape across the surface without any slack.
- Next, measure the height of the wall from the floor to the ceiling. It is important to measure multiple points along the wall as the ceiling height may vary in certain areas.
- Take note of any irregularities, such as protrusions or corners, as they will affect the measurements for the foam crown molding.
- With the measurements in hand, it is recommended to add a few extra inches to each measurement to account for any cutting errors or alignment issues during installation.
By following these measuring techniques, you can ensure precise sizing and minimize the risk of ending up with incorrectly sized sections of foam crown molding.
Cutting methods for foam crown molding, ensuring perfect fits
Once you have accurately measured the foam crown molding, the next step is to cut the pieces to the appropriate lengths. The cutting process requires attention to detail to achieve perfect fits.
Here are some cutting methods to consider:
- Mark the measurement on the foam crown molding using a pencil or a marker. Ensure that the mark is clear and easily visible.
- Use a miter saw or a coping saw to cut the foam crown molding at the marked lines. It is vital to maintain a steady hand and make precise cuts to achieve the desired angles and lengths.
- When cutting the molding, ensure that the angles are accurate and aligned with the corners of the wall. This will allow for a seamless installation without any noticeable gaps or overlaps.
- Always double-check your measurements and cuts before moving on to the installation process. This will help avoid any potential issues and save time in the long run.
By following these cutting methods, you can ensure that each piece of foam crown molding fits perfectly into the designated area, resulting in an aesthetically pleasing and professional installation.
Installing The Foam Crown Molding
Installing foam crown molding can be a cost-effective and aesthetically pleasing way to add a touch of elegance to any room. With its lightweight and easy-to-install nature, foam crown molding has become a popular choice among DIY enthusiasts. In this section, we will walk you through the process of installing foam crown molding, from applying adhesive to affixing the molding to the wall, ensuring a seamless and professional finish.
First and foremost, it is important to properly prepare the surface before you begin the installation. Make sure the wall is clean and free from any dust or debris. You may also want to consider sanding any rough areas to ensure a smooth and even application of the adhesive.
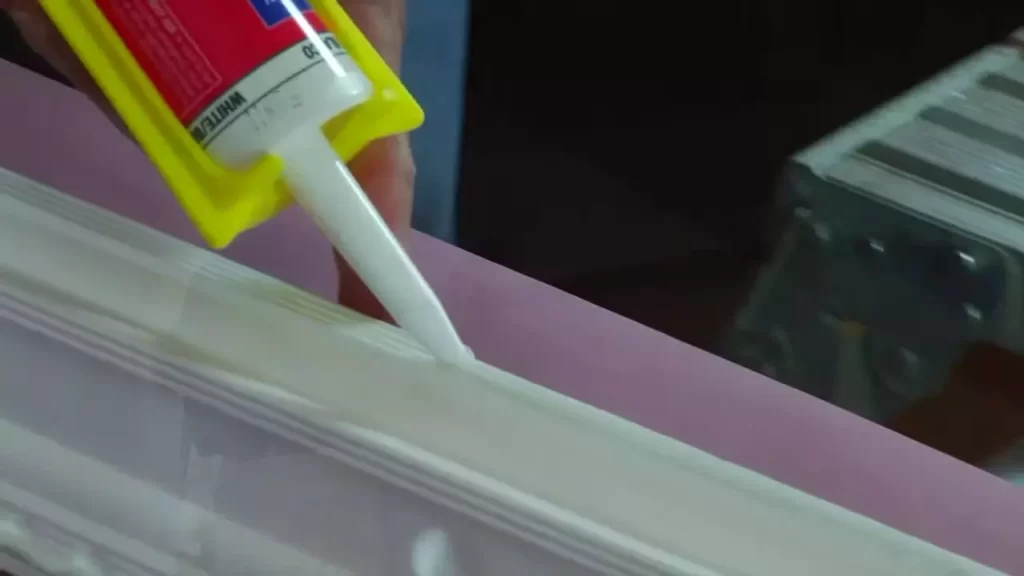
Applying adhesive to the back of the molding:
1. Begin by applying a generous amount of construction adhesive to the back of the foam crown molding. You can use a caulk gun to easily dispense the adhesive along the length of the molding.
2. Make sure to apply the adhesive evenly and cover the entire back surface of the molding. This will ensure a strong bond between the molding and the wall.
3. For added security, you can also apply additional adhesive along the top edge of the molding, as this is the part that will be in direct contact with the ceiling.
Affixing the molding to the wall:
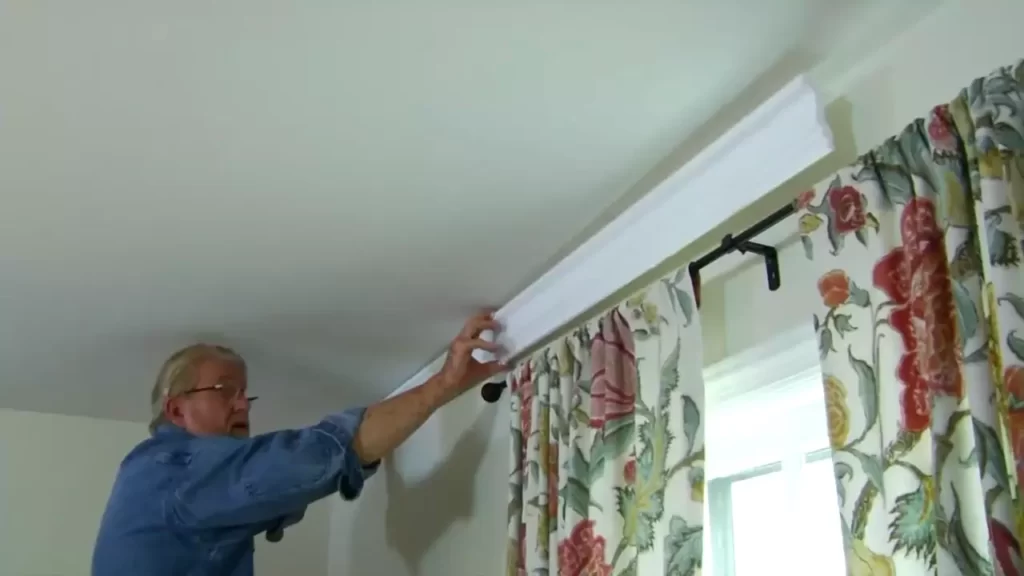
- Once the adhesive has been applied, carefully press the foam crown molding onto the wall. Start at one end and work your way along the wall, making sure each section is properly aligned.
- Use your hands to firmly press the molding against the wall, ensuring that it adheres well. You may also use a rubber mallet or a block of wood to gently tap the molding into place.
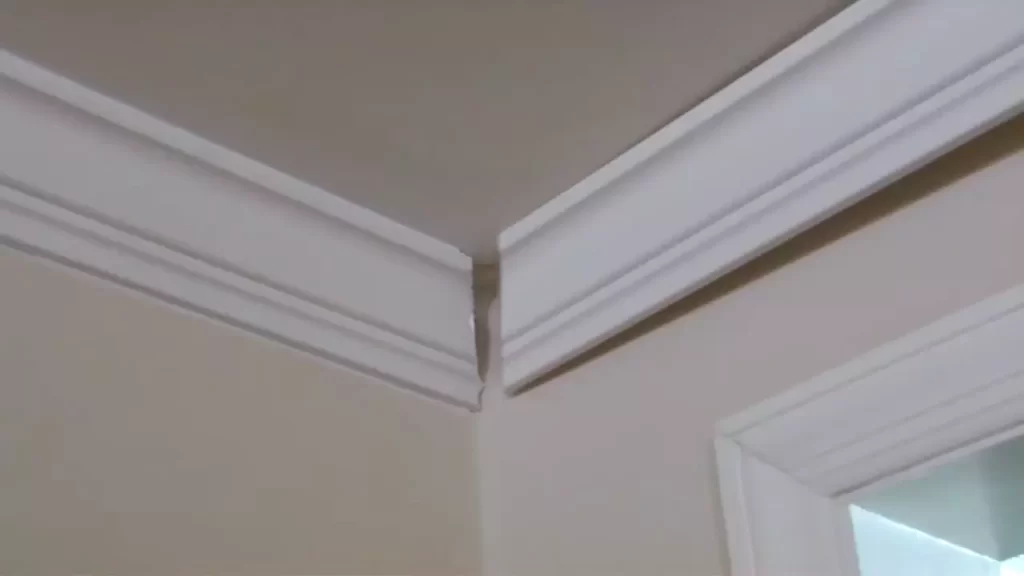
- Take extra care when affixing the corners of the molding. This is where you want to ensure a seamless transition between sections. Use a miter box or a miter saw to cut the foam crown molding at a 45-degree angle for a professional-looking corner joint.
- As you continue to affix the molding to the wall, periodically check for any gaps or uneven spots. If needed, use a foam-safe adhesive or caulk to fill in any imperfections and create a smooth finish.
By following these steps and taking your time, you can successfully install foam crown molding with professional-looking results. Enjoy the transformation this simple and affordable upgrade can bring to your living space.
Filling And Finishing The Seams
When it comes to installing foam crown molding, one crucial step that should not be overlooked is filling and finishing the seams. This step ensures a seamless and professional-looking installation that will add a touch of elegance to any room. In this section, we will discuss two important aspects of filling and finishing the seams: filling any gaps or cracks in the molding and sanding and finishing techniques for a smooth surface.
Filling any gaps or cracks in the molding
It’s not uncommon to encounter small gaps or cracks between the foam crown molding pieces, especially when working with longer lengths. Filling these gaps is essential to achieve a flawless finish. Here’s a step-by-step guide on filling any gaps or cracks:
- Start by preparing the surface – make sure the molding is clean and free of any dust or debris. This will ensure proper adhesion of the filler.
- Choose a flexible and paintable filler suitable for foam molding. Acrylic caulk or lightweight spackle are commonly used options.
- Using a caulking gun, apply a thin and even bead of filler along the gap or crack. Be sure to press the filler into the crevices.
- Smooth out the filler using a putty knife or your finger, ensuring it is level with the surface of the molding.
- Allow the filler to dry completely according to the manufacturer’s instructions.
- Once dry, inspect the filled areas for any imperfections. If necessary, repeat the filling and smoothing process until the gaps or cracks are completely filled and smooth.
Sanding and finishing techniques for a smooth surface
After filling the gaps and cracks, it’s time to sand and finish the foam crown molding to achieve a smooth and professional-looking surface. Follow these steps:
- Begin by preparing the surface again – make sure the filler is completely dry and sand any rough areas or excess filler using a fine-grit sandpaper. This will create a smooth base for finishing.
- Apply a coat of primer specifically formulated for foam surfaces. This will help the paint adhere better and ensure an even finish.
- Once the primer is dry, lightly sand the surface again to remove any imperfections or brush marks. A fine-grit sandpaper or sanding block can be used for this.
- Wipe away any dust or debris with a clean, damp cloth.
- Now, you are ready to apply the final paint coat. Choose a high-quality paint suitable for foam molding and apply it evenly using a brush or a foam roller. Apply multiple thin coats for a smooth and professional finish, allowing each coat to dry before applying the next.
- After the final coat of paint is dry, inspect the surface for any touch-ups needed. Fill any remaining imperfections with a small amount of filler, and sand it to achieve a seamless finish.
Following these filling and finishing techniques will ensure that your foam crown molding installation looks flawless and adds a touch of elegance to your space. Take your time, pay attention to detail, and enjoy the rewarding process of transforming your room with foam crown molding.
Priming And Painting The Foam Crown Molding
Once you have successfully installed the foam crown molding, the next step is priming and painting. This crucial process not only adds a touch of personalization to your home but also protects the molding from wear and tear. By following the right techniques and using the right paint, you can achieve a smooth and seamless finish that will instantly enhance the overall aesthetics of your space.
Preparing the molding for paint
Before you start priming and painting the foam crown molding, it is important to properly prepare the surface. This will ensure better paint adhesion and a long-lasting finish. Here are a few steps to prepare the molding for paint:
- Clean the surface: Begin by wiping the foam molding with a damp cloth to remove any dust or debris. This will help the paint adhere better to the surface.
- Fill any imperfections: Inspect the molding for any visible imperfections such as dents or cracks. Use a lightweight spackling compound to fill these imperfections, ensuring a smooth and even surface.
- Sand the surface: Use a fine-grit sandpaper to gently sand the foam molding. This will help smoothen any rough edges or patches, allowing the paint to bond more effectively.
- Apply a primer: Using a high-quality foam primer, apply a thin and even coat to the entire surface of the molding. The primer will seal the foam and provide a suitable base for the paint to adhere to.
Choosing the right type of paint for foam crown molding
When it comes to painting foam crown molding, selecting the right type of paint is crucial for achieving the desired result. Not all paints are suitable for foam surfaces, as they can cause the foam to deteriorate or become discolored. Here are a few factors to consider when choosing paint for your foam crown molding:
- Acrylic or latex-based paint: Opt for acrylic or latex-based paint, as they are flexible and adhere well to foam surfaces. These types of paints also dry quickly, allowing you to apply multiple coats if necessary.
- Satin or semi-gloss finish: Consider using a satin or semi-gloss finish for your foam crown molding. These finishes not only provide a smooth and luxurious look but also offer better durability and resistance to moisture and stains.
- Avoid oil-based paint: It is important to avoid using oil-based paint on foam crown molding, as it can cause the foam to degrade over time. Additionally, oil-based paints take longer to dry, which may result in a less professional-looking finish.
- Test the paint: Before painting the entire foam crown molding, it is advisable to test the paint on a small, inconspicuous area. This will help ensure compatibility and allow you to assess the finish before proceeding with the entire project.
By following these guidelines, you can properly prime and paint your foam crown molding, transforming your space into a visually appealing and stylish environment. Take your time, follow the instructions carefully, and enjoy the rewarding process of adding a personal and artistic touch to your home.

Final Touches And Maintenance Tips
Caulking and Sealing the Edges
One of the final touches for installing foam crown molding is caulking and sealing the edges. This step is crucial to ensure a seamless and professional finish. Caulking the edges not only fills in any gaps or cracks but also helps to create a water-resistant barrier. Here’s a step-by-step guide to caulk and seal the edges of your foam crown molding:
- Prepare the caulking gun and tube of paintable caulk.
- Start at one end of the molding and apply a thin bead of caulk along the edge where it meets the wall or ceiling.
- Use a caulk smoothing tool or your finger to smooth out the caulk, ensuring it fills any gaps and adheres securely.
- Continue this process along the entire length of the foam crown molding, taking care to apply an even bead of caulk and smooth it out as you go.
- Allow the caulk to dry completely according to the manufacturer’s instructions before painting or finishing the molding.
Cleaning and Maintaining the Foam Crown Molding
Keeping your foam crown molding looking its best requires regular cleaning and maintenance. Here are some tips to help you clean and maintain your foam crown molding effectively:
Cleaning:
- Start by removing any dust or loose debris from the molding using a soft brush or a vacuum cleaner with a brush attachment.
- Mix a solution of mild dish soap and warm water in a bucket.
- Dampen a soft cloth or sponge in the soapy water and gently wipe down the foam crown molding, starting from one end and working your way to the other.
- Rinse the cloth or sponge with clean water and wring out any excess moisture.
- Wipe down the molding again with a damp cloth or sponge to remove any soap residue.
- Finally, use a dry, soft cloth to carefully dry the foam crown molding, ensuring no water spots or streaks are left behind.
Maintenance:
- Inspect the foam crown molding periodically for any signs of damage, such as cracks or dents.
- If you notice any damage, it’s important to repair or replace the affected sections to maintain the overall integrity of the molding.
- Regularly check the caulking and sealing along the edges of the molding to ensure it remains intact. If necessary, reapply caulk to any areas that have become loose or worn over time.
- Additionally, avoid placing heavy objects or applying excessive pressure on the foam crown molding, as this can cause it to deform or break.
- Finally, consider using a UV-protective coating or paint on the foam crown molding if it will be exposed to direct sunlight, as this can help prevent fading and discoloration over time.
By following these final touches and maintenance tips, you can ensure that your foam crown molding not only looks beautiful but also remains in excellent condition for years to come.
Frequently Asked Questions On How To Install Foam Crown Molding
How Much Does It Cost To Install Foam Crown Molding?
The cost of installing foam crown molding can vary depending on the size of the project and the complexity of the design. On average, the cost can range from $2 to $5 per linear foot. However, it is recommended to get quotes from professional installers for an accurate estimate.
Can I Install Foam Crown Molding Myself?
Yes, foam crown molding installation can be a DIY project. With the right tools and instructions, you can easily install foam crown molding yourself. It is lightweight and easy to cut, making it a suitable option for homeowners who want to add a touch of elegance to their rooms without hiring a professional installer.
What Tools Will I Need To Install Foam Crown Molding?
To install foam crown molding, you will need a few basic tools such as a miter box or a miter saw for cutting the molding at the correct angles, a caulking gun and adhesive for secure installation, a tape measure for accurate measurements, and a level to ensure that the molding is straight.
It is also recommended to have safety goggles and gloves for protection.
Conclusion
Installing foam crown molding can be a simple and cost-effective way to enhance the aesthetics of your space. With the right tools and techniques, anyone can achieve professional-looking results. By following the step-by-step instructions in this guide, you’ll be able to create a polished and elegant look without the need for hiring professionals.
So why wait? Get started today and transform your space with beautiful foam crown molding.


