How to Install Crown Molding Corner Blocks?
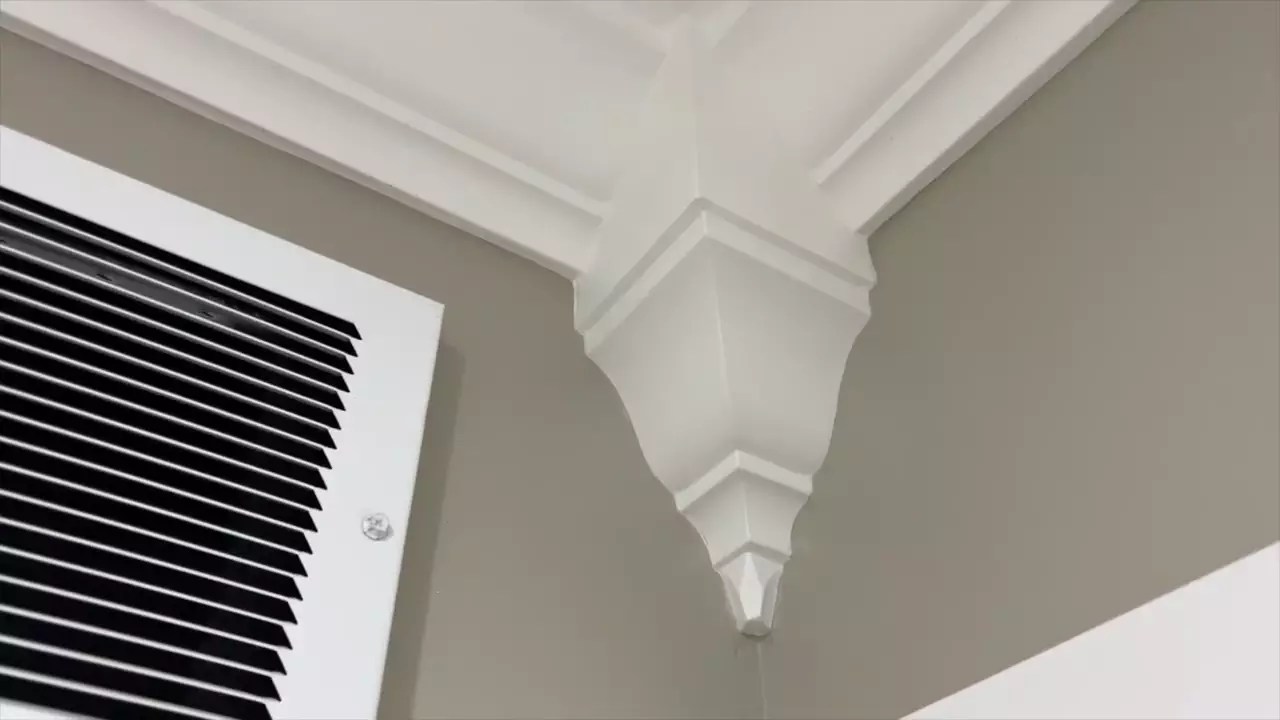
To install crown molding corner blocks, measure and mark the desired position on the wall, align the corner block, apply adhesive, press firmly, and secure with finishing nails. Crown molding corner blocks can be a beautiful addition to any room, adding an elegant and finished look to the corners of walls.
With the right tools and techniques, installing these corner blocks can be a straightforward process. We will guide you through the steps needed to install crown molding corner blocks, ensuring a seamless and professional finish. By following these instructions, you will be able to transform your space and enhance its overall appearance.
So, let’s dive in and learn how to properly install crown molding corner blocks.
Materials Needed
List of materials needed for installing crown molding corner blocks
To install crown molding corner blocks, you will need a specific set of materials. These materials are crucial for ensuring a successful installation and a polished end result. Let’s take a look at the essential items you will need:
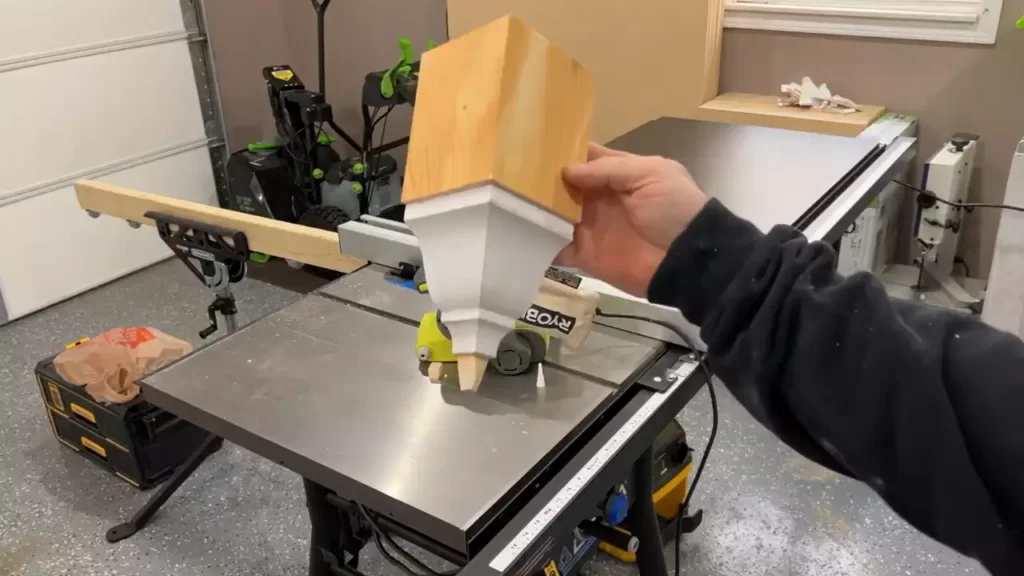
Tools required for the installation process
In addition to the materials listed above, you will also need the following tools to properly install the crown molding corner blocks:
- A tape measure to accurately measure the length of the corner blocks and ensure a precise fit.
- A miter saw to make precise angled cuts on the crown molding, allowing it to seamlessly fit together at the corners.
- A coping saw creates intricate cuts on the molding for a tight and seamless corner joint.
- A level to ensure that the crown molding is properly aligned and straight during installation.
- A pencil to mark the measurements and cut lines on the molding and corner blocks.
- Adhesive or caulking to secure the corner blocks to the wall and ensure a secure installation.
- Sandpaper to smooth out any rough edges or imperfections on the molding and corner blocks.
- A paintbrush or roller to apply paint or stain to the crown molding and corner blocks, giving them a finished appearance.
Now that you have a comprehensive list of materials and tools needed for installing crown molding corner blocks, you can gather everything necessary before beginning the installation process. Having all the required materials and tools on hand will make the process smoother and help you achieve professional-looking results. So, get ready to transform your space with beautiful crown molding corner blocks!
Step-By-Step Guide On Installing Crown Molding Corner Blocks
Are you looking to add an elegant touch to your home’s interior? Crown molding corner blocks are a great option to enhance the beauty of your room’s corners. Installing crown molding corner blocks may seem like a daunting task, but with the right guide, you can achieve professional-looking results. In this step-by-step guide, you will learn how to prepare, measure, cut, install, and finish crown molding corner blocks to perfection. Let’s dive in!
Preparing the walls and the corner
Before you begin installation, it’s crucial to ensure that both the walls and the corner where you plan to install the crown molding corner blocks are clean and smooth. Remove any dirt, dust, or debris from the walls, as these can affect the adhesion and overall appearance of the corner blocks.
Measuring and marking the corner blocks
To achieve proper fitment, accurately measure and mark the corner blocks before cutting. Use a measuring tape to determine the length and width required for each corner block. Align the marks with the corner edges of the walls to ensure precise placement.
Cutting the corner blocks to size
Using a miter saw or a coping saw, carefully cut the corner blocks according to the measurements taken earlier. Be sure to follow the marked lines precisely to ensure seamless integration with the crown molding. Take your time to achieve clean and accurate cuts.
Applying adhesive to the corner blocks
Once the corner blocks are cut to the desired size, apply a recommended adhesive or caulking to the back of each block. This adhesive will provide a strong bond between the corner blocks and the walls, ensuring long-lasting stability and preventing any gaps.
Positioning and attaching the corner blocks
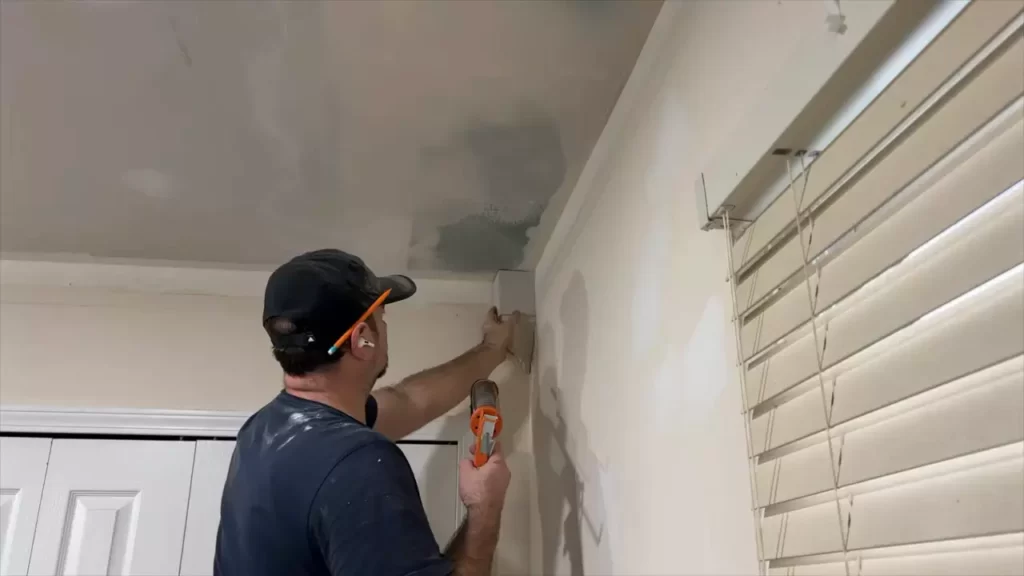
Carefully position the corner blocks, aligning them with the marked lines on the walls. Press them firmly against the walls, making sure they are level and plumb. Double-check the positioning to ensure a seamless and symmetrical installation.
Securing the corner blocks with nails or screws
To ensure additional stability, you can secure the corner blocks with nails or screws. Choose an appropriate size and type of fastener to avoid any damage to the corner blocks. Carefully drive the fasteners into the corner blocks, keeping them flush with the surface.
Filling any gaps or imperfections
Inspect the area around the corner blocks for any gaps or imperfections. Use a suitable filler material, such as putty or caulk, to fill in these gaps. Smooth out the filler material with a putty knife or your finger to achieve a seamless finish.
Sanding and finishing the corner blocks
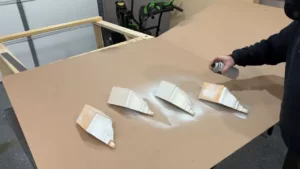
Once the filler material is dry, gently sand the corner blocks to ensure a smooth and even surface. Pay attention to any rough edges or protruding filler material. After sanding, apply a coat of paint or stain to match the color of the crown molding, ensuring a cohesive and polished look.
Tips For A Professional Finish
When it comes to installing crown molding corner blocks, paying attention to the details is essential for achieving a professional finish. Two key aspects that can greatly impact the overall look of your installation are sanding and smoothing the edges of the corner blocks and using filler to hide any nail or screw holes. Additionally, the final touch of painting or staining the corner blocks to match the molding is crucial in completing a seamless and cohesive appearance.
Sanding and smoothing the edges of the corner blocks
Before you begin installing the corner blocks, it’s important to ensure that their edges are smooth and free from any imperfections. To achieve this, follow these steps:
- Start by inspecting the corner blocks for any rough edges or sharp corners. Using a fine-grit sandpaper, gently sand away any roughness, making sure to maintain the original shape of the block.
- Once the rough edges have been smoothed out, use a tack cloth to remove any dust or debris from the surface. This will ensure a clean and even application of the filler and paint or stain later on.
Using filler to hide nail or screw holes
After the corner blocks have been installed, you may notice nail or screw holes that need to be concealed for a seamless appearance. Follow these steps to effectively hide any imperfections:
- Using a small putty knife, apply a high-quality wood filler to the nail or screw holes. Make sure the filler is slightly overfilled to allow for any shrinkage during drying.
- Once the filler is applied, carefully smooth it out with the putty knife, ensuring that it is flush with the surface of the corner block.
- Allow the filler to dry completely, following the manufacturer’s instructions. Once dry, lightly sand the area to remove any excess filler and create a smooth finish.
- Use a tack cloth to remove any dust particles before proceeding with painting or staining.
Painting or staining the corner blocks to match the molding
The final step in achieving a professional finish is to paint or stain the corner blocks to seamlessly blend with the molding. Follow these guidelines for a flawless result:
- If you choose to paint the corner blocks, use a high-quality paintbrush or sprayer to apply an even coat of paint. Allow the paint to dry completely between coats, following the manufacturer’s recommendations.
- If staining the corner blocks, select a stain color that closely matches the molding. Apply the stain using a clean cloth or brush, following the direction of the wood grain. Allow the stain to dry according to the manufacturer’s instructions.
- After the paint or stain has dried, thoroughly inspect the corner blocks for any imperfections. Touch up any areas that may require it, ensuring a consistent and polished finish.
By following these tips, you can ensure a professional finish when installing crown molding corner blocks. Taking the time to sand and smooth the edges, hide any nail or screw holes with filler, and carefully paint or stain the corner blocks will result in a flawless installation that adds elegance and sophistication to your space.
Common Mistakes And How To Avoid Them
Proper installation of crown molding corner blocks is essential for achieving a seamless and professional-looking finish. However, there are a few common mistakes that many people make when installing these corner blocks. In this section, we will discuss these mistakes and provide you with useful tips on how to avoid them.
Not measuring accurately
One of the most important aspects of installing crown molding corner blocks is measuring accurately. Failing to measure correctly can result in uneven corners and poorly fitting corner blocks. To avoid this mistake, follow these steps:
- Measure twice: Before cutting your crown molding pieces, measure the length of each wall carefully. Write down the measurements and double-check them before making any cuts. Remember, the key to accurate measurements is patience and attention to detail.
- Consider the angles: Crown molding corner blocks should have mitered cuts that fit perfectly together. Use a miter saw or a coping saw to create precise angles in your crown molding pieces. Ensure that each piece is cut at the correct angle to match the corner block.
Failing to secure the corner blocks properly
Another common mistake when installing crown molding corner blocks is failing to secure them properly. This can lead to instability and an unprofessional appearance. Here are some tips to ensure secure installation:
- Use construction adhesive: Apply a generous amount of construction adhesive on the back of each corner block before attaching it to the wall. This will provide a strong bond and prevent any movement or shifting.
- Secure with finishing nails: In addition to the adhesive, use finishing nails to further secure the corner blocks. Drive the nails into the corner blocks and the wall at a slight angle to ensure a tight grip.
Neglecting to fill gaps or imperfections
After installing the crown molding corner blocks, it’s crucial to fill any gaps or imperfections for a seamless finish. Neglecting this step can result in an unattractive appearance. Follow these tips to ensure a flawless result:
- Use a filler: Fill any gaps between the corner blocks and the wall using a high-quality wood filler. Apply the filler with a putty knife, ensuring that it fills the gaps completely. Sand down the excess filler once it dries to create a smooth surface.
- Touch up with paint: Finally, touch up the entire crown molding, including the corner blocks, with paint or stain to match the rest of the room. This will help to conceal any imperfections and create a cohesive look.
By avoiding these common mistakes and following the tips provided, you can ensure a successful installation of crown molding corner blocks. Remember, precision and attention to detail are key for achieving a professional and polished result.
Frequently Asked Questions On How To Install Crown Molding Corner Blocks
How Do I Measure For Crown Molding Corner Blocks?
To measure for crown molding corner blocks, start by measuring the length of each wall where the crown molding will be installed. Take into account any corners or angles that need corner blocks. Add an extra inch to each measurement to allow for precision cutting and fitting.
Can I Install Crown Molding Corner Blocks Myself?
Yes, installing crown molding corner blocks is a DIY-friendly project. With the right tools and some patience, you can achieve professional-looking results. Make sure to follow the installation instructions provided by the manufacturer and take accurate measurements to ensure a proper fit.
What Material Is Best For Crown Molding Corner Blocks?
Crown molding corner blocks are available in various materials such as wood, polyurethane, or PVC. The best material for your crown molding corner blocks depends on your preferences, budget, and the style of your home. Wood offers a classic look, while polyurethane and PVC are durable and low-maintenance options.
Conclusion
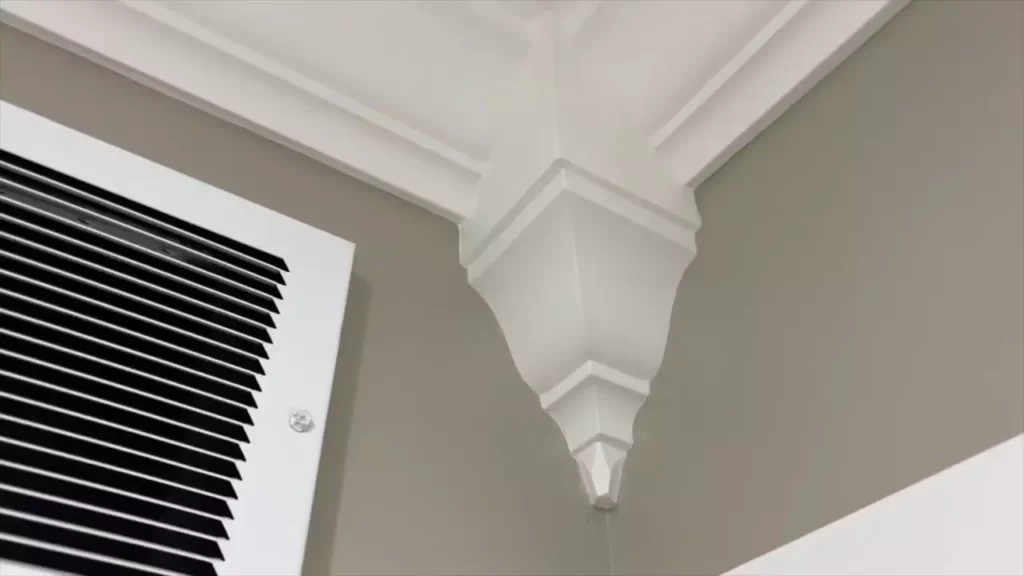
Installing crown molding corner blocks can add an elegant and seamless touch to any interior space. By following the simple steps outlined in this guide, you can achieve professional-looking results without the need for complex miter cuts. With the right tools and a little patience, your crown molding corner blocks can become a stunning focal point in your home.
So go ahead and give your space a touch of sophistication with this easy installation technique!

