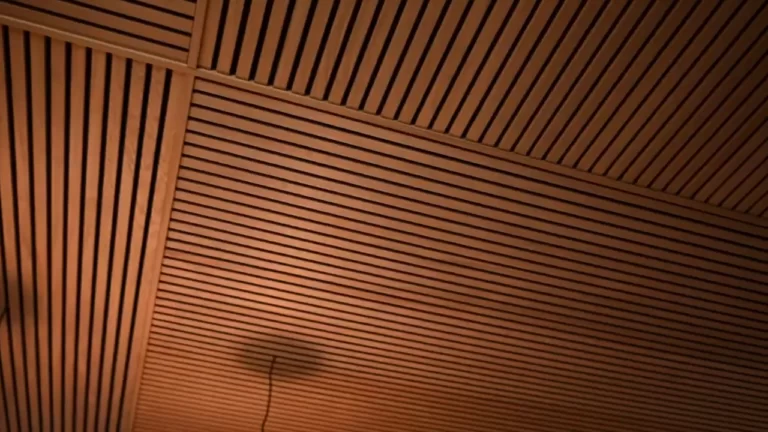
How to Install Ceiling Drywall?
To install ceiling drywall, measure and cut the drywall panels to fit the ceiling, attach them to the ceiling joists using drywall screws, and then finish the joints and corners with a joint compound. Adding corner beads and sanding the surface will provide a smooth finish.
If you’re planning to install ceiling drywall, it’s essential to follow the correct steps to achieve a professional and sturdy finish. With the right measurements, tools, and materials, installing ceiling drywall can be a relatively straightforward process. We will guide you through the steps to install ceiling drywall effectively, ensuring a seamless and durable installation that will enhance the overall aesthetic appeal of your space.
Preparing For The Installation
When it comes to installing ceiling drywall, proper preparation is key to ensuring a smooth and successful installation. Before diving into the actual installation process, it is important to gather all the necessary tools and materials, measure the ceiling area, calculate the amount of drywall needed, and check for any electrical or plumbing fixtures that need to be addressed. Let’s take a closer look at each step in detail.

Gather the necessary tools and materials
Before starting your ceiling drywall installation, it is crucial to gather all the tools and materials required for the job. Having everything in place will save you time and effort. Here is a list of essential tools and materials you will need:
| Tools: | Materials: |
|
|
Measure the ceiling area and calculate the amount of drywall needed
In order to estimate the amount of drywall required for your ceiling, accurate measurements are essential. Follow these steps to measure the ceiling area:
- Start by measuring the length and width of the room. Multiply these two values to get the total square footage.
- Next, measure the height of the walls. This measurement will be used to determine the length of the drywall sheets needed.
- Subtract any openings such as windows and doors from the total square footage.
- With the remaining square footage, divide it by the square footage covered by a single drywall sheet to determine the number of sheets needed.
- Remember to add a few extra sheets for wastage and mistakes.
Calculating and purchasing the correct amount of drywall will help you avoid unnecessary trips to the store and ensure a seamless installation process.
Check for any electrical or plumbing fixtures that need to be addressed before installation
Prior to installing the ceiling drywall, it is crucial to inspect the area for any electrical or plumbing fixtures that might interfere with the installation process. This step will help you plan accordingly and make any necessary adjustments to ensure a smooth installation. Here are a few things to consider:
- Identify any electrical wires or cables that may be running through the ceiling area.
- Take note of any plumbing pipes or fixtures that may need to be relocated or protected.
- Consult with a professional if you are unsure about any potential hazards or have any concerns regarding the wiring or plumbing.
Tackling any necessary electrical or plumbing adjustments before installing the drywall will save you both time and trouble, ensuring a safer and more efficient installation process.
Preparing The Ceiling For Drywall Installation
Before you start installing ceiling drywall, it is important to properly prepare the area for a smooth and successful installation. Preparing the ceiling involves clearing the area, inspecting for any structural issues or repairs, and determining whether you need to install furring strips or a suspended ceiling.
Clear the area of furniture and cover the floor to protect it
The first step in preparing the ceiling for drywall installation is to clear the area of any furniture or obstructions. This not only provides you with the space you need to work comfortably but also helps protect your furniture from any damage that may occur during the installation process. Covering the floor with a drop cloth or plastic sheeting can also help protect it from dust, debris, and any accidental spills.
Inspect the ceiling for any structural issues or repairs
Before proceeding with the drywall installation, it is crucial to carefully inspect the ceiling for any structural issues or necessary repairs. Look for signs of water damage, cracks, sagging, or any indications of weakened support. Addressing these issues before installing the drywall is essential to ensure the stability and longevity of your ceiling. If you are unsure about the condition of your ceiling, it is advisable to consult a professional for a thorough inspection and guidance.

Install furring strips or a suspended ceiling, if needed
In some cases, you may need to install furring strips or a suspended ceiling before proceeding with the drywall installation. Furring strips are small strips of wood or metal that are attached to the ceiling joists and provide a flat and even surface for the drywall to be secured to. A suspended ceiling, on the other hand, is a system of interlocking panels that is hung from the ceiling joists, creating a suspended grid. These options may be necessary to level out an uneven ceiling or to accommodate wiring, plumbing, or ventilation systems.
Before installing furring strips or a suspended ceiling, ensure that you measure and mark the proper placement according to your specific requirements. Take into consideration the desired height, any necessary clearance for fixtures or lighting, and the overall design of the room.
By following these steps and properly preparing the ceiling, you can create a solid foundation for the installation of your drywall. Taking the time to clear the area, inspect for any issues, and install any necessary support structures will ensure a smooth and successful installation process.
Installing The Drywall Sheets
Once you have prepared the ceiling by attaching the furring strips, it’s time to start installing the drywall sheets. This step is crucial in creating a smooth and polished finish for your ceiling. In this section, we will walk you through the process of installing the drywall sheets, from starting in one corner to marking any openings for fixtures, and finally securing the sheets in place.
Start in one corner and work your way across the ceiling
To begin the installation process, it is essential to start in one corner of the ceiling. This approach ensures a systematic and organized installation, leading to better results. Begin by measuring and marking a reference line on the furring strips to guide you during installation.
Once your reference line is in place, lift the first drywall sheet and position it against the corner of the ceiling. Make sure the edge of the sheet aligns with the reference line. It’s important to note that drywall can be heavy, so having a helper to support the sheet during installation is highly recommended.
To secure the sheet in place, use screws or nails designed specifically for drywall installation. Place one screw or nail at each corner of the sheet, ensuring it penetrates both the drywall and the furring strips. Repeat this process along the edges of the sheet, spacing the screws or nails at regular intervals to ensure a secure attachment.
Cut the drywall sheets to fit and mark any openings for fixtures
As you progress with the installation, it’s likely that you’ll encounter areas that require custom-cutting the drywall sheets to fit. Measure the dimensions of the area that needs to be covered, and transfer the measurements onto the drywall sheet. Use a utility knife to score along the marked lines and then snap the sheet along the scoreline.
If there are any openings on the ceiling for fixtures such as lights or ventilation, make sure to mark their locations on the drywall sheets. This will help you determine where to cut or create openings in the sheets. Precision is key here, so take your time to ensure accurate markings.
Apply construction adhesive and screw or nail the drywall sheets into place
Before attaching the cut sheets or ones with marked openings, it’s recommended to apply a thin layer of construction adhesive to the back of the drywall sheet. This adhesive helps enhance the bond between the sheet and the furring strips, improving the overall stability of the ceiling.
Once the adhesive is applied, carefully position the sheet over the desired area, making sure it aligns with the reference line. Use screws or nails to securely fasten the sheet. Remember to space the fasteners accordingly, ensuring each fastener goes through both the drywall sheet and the furring strip.
Continue this process, working your way across the ceiling, until all the drywall sheets are installed. Take care to maintain a consistent reference line throughout the installation to achieve a professional result.
By following these steps and taking your time to ensure accuracy and proper installation, you’ll be well on your way to a beautifully finished ceiling that adds value and aesthetics to your space.

Finishing The Drywall Installation
After successfully installing the ceiling drywall, it’s time to move on to the final step of the process: finishing. This crucial stage involves taping and mudding the seams between the drywall sheets, sanding the drywall to achieve a smooth surface, and finally, applying primer and painting the drywall to give it a polished and professional look.
Taping and Mudding the Seams Between the Drywall Sheets
To create a seamless appearance, it is important to tape and mud the seams between the drywall sheets. This helps to hide joints and prevent cracks from showing through the finished surface. Follow these steps to accomplish this:
- Cut the drywall tape to the length of the seam.
- Apply a thin layer of joint compound to the seam using a drywall knife.
- Place the tape over the wet joint compound, making sure it is centered along the seam.
- Using the drywall knife, gently smooth out any air bubbles or excess compound.
- Apply a second layer of joint compound over the tape, feathering the edges to blend it with the surrounding surface.
- Allow the joint compound to dry completely before moving on to the next step.
Sanding the Drywall to Create a Smooth Surface
Once the joint compound has dried, the next step is to sand the drywall to achieve a smooth and even surface. This process helps to remove any imperfections and roughness. Follow these guidelines:
- Use a fine-grit sandpaper or a drywall sanding sponge to sand the entire surface of the drywall.
- Start with long, even strokes, working in one direction.
- Continue sanding until the surface feels smooth to the touch.
- Wipe away any dust with a damp cloth, ensuring the surface is clean before moving on.
Applying Primer and Painting the Drywall
The final step in finishing the drywall installation is to apply primer and paint. This not only enhances the aesthetic appeal but also protects the drywall from moisture and everyday wear and tear. Here’s how to do it:
- Apply a coat of primer to the entire surface using a roller or brush, ensuring even coverage.
- Allow the primer to dry completely, following the manufacturer’s instructions.
- Once the primer is dry, it’s time to apply the paint of your choice.
- Use a roller or brush to apply the paint in smooth, even strokes.
- Apply multiple coats if necessary, allowing each coat to dry before applying the next.
- Carefully inspect the painted surface for any touch-ups needed, and make the necessary corrections as required.
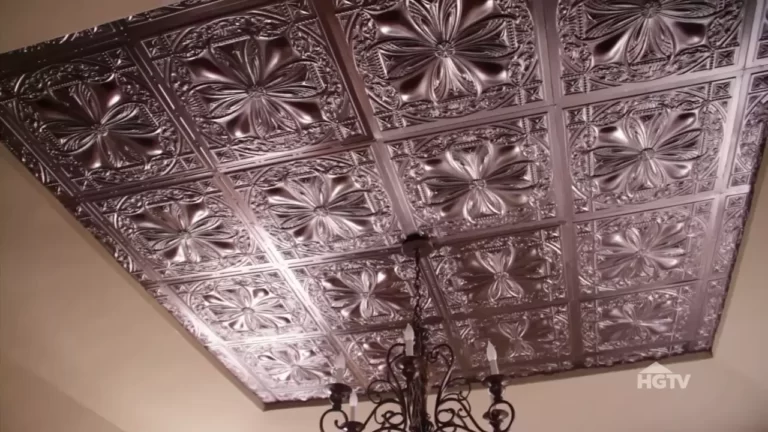
With these steps completed, you have successfully finished the drywall installation and transformed your ceiling into a polished and beautifully finished space. Take a step back and admire the result of your hard work – a ceiling that adds elegance and charm to your room.
Tips For A Successful Ceiling Drywall Installation
Installing ceiling drywall can be a daunting task, but with the right tips and techniques, you can achieve professional-looking results. Whether you are a seasoned DIY enthusiast or a first-time homeowner, these simple guidelines will help you navigate the process smoothly and efficiently. Keep reading to discover our top tips for a successful ceiling drywall installation.
Use a drywall lift or recruit help for easier installation
One of the biggest challenges of installing ceiling drywall is the physical strain it can put on your body. Lifting and holding the drywall sheets overhead for an extended period can quickly lead to fatigue and potential injuries. To make the installation process easier, consider using a drywall lift or enlisting the help of a friend or family member. A drywall lift is a specialized tool that allows you to hoist the drywall sheets into place, making it easier to position and secure them. This will not only save you time and effort but also ensure a more precise installation.

Take breaks and pace yourself to avoid fatigue
Even with the assistance of a drywall lift or extra hands, installing ceiling drywall can still be physically demanding. It’s crucial to listen to your body and take regular breaks to prevent fatigue and overexertion. Dedicate a few minutes to rest and stretch between each sheet installation. This will not only help you maintain your energy levels but also improve your overall efficiency and accuracy. Remember, a well-rested and focused installer is less likely to make mistakes or compromise safety.
Ensure proper ventilation during the installation process
Proper ventilation is essential when working with drywall due to the dust and fumes generated during the installation process. Ensure that the room has adequate airflow by opening windows, using fans, or positioning portable air purifiers. Additionally, wearing a dust mask and safety goggles will protect you from inhaling potentially harmful particles. Remember, good ventilation not only promotes better air quality but also prevents excessive humidity, which can affect the drying and curing of joint compounds and adhesives.
Frequently Asked Questions For How To Install Ceiling Drywall
How Do You Attach Drywall To The Ceiling?
To attach drywall to the ceiling, follow these steps:
1. Start by measuring and marking the ceiling joists.
2. Use a screw gun to secure the drywall to the joists, placing screws every 12 inches.
3. Make sure the edges of the drywall meet in the center of a joist.
4. Apply joint tape and joint compound to create seamless joints.
5. Finish by sanding and painting the drywall for a smooth and polished look.
Do You Hang Drywall On The Ceiling Or The Wall First?
Hang drywall on the ceiling first before the wall.
Is It Difficult To Drywall A Ceiling?
Drywalling a ceiling can be a challenging task. It requires careful planning, precise measurements, and the right tools. However, with proper preparation and some DIY skills, it is possible to achieve a smooth and professional-looking finish.
Is 1 2 Inch Drywall OK for Ceiling?
Yes, 1/2 inch drywall is suitable for ceilings, as it offers sufficient strength and durability. However, for better sound insulation and fire resistance, consider using thicker drywall. Ensure proper installation to prevent sagging and achieve a smooth finish.
Conclusion
To wrap up, installing ceiling drywall can seem daunting at first, but with the right tools and techniques, it can be a manageable DIY project. Remember to take accurate measurements and use proper safety precautions. From preparing the ceiling to mudding and sanding, each step is crucial for a smooth and professional-looking finish.
By following these guidelines, you can confidently install ceiling drywall and transform your space. Get ready to enjoy the benefits of a fresh, new ceiling in no time!