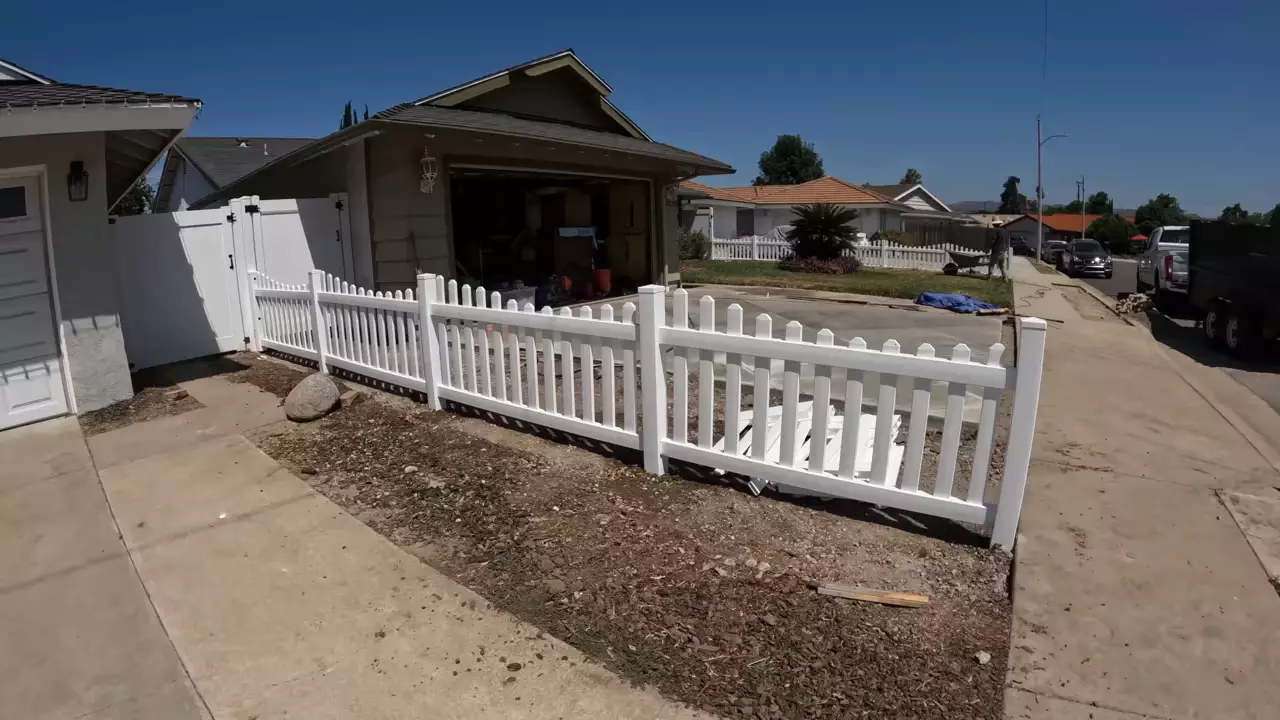
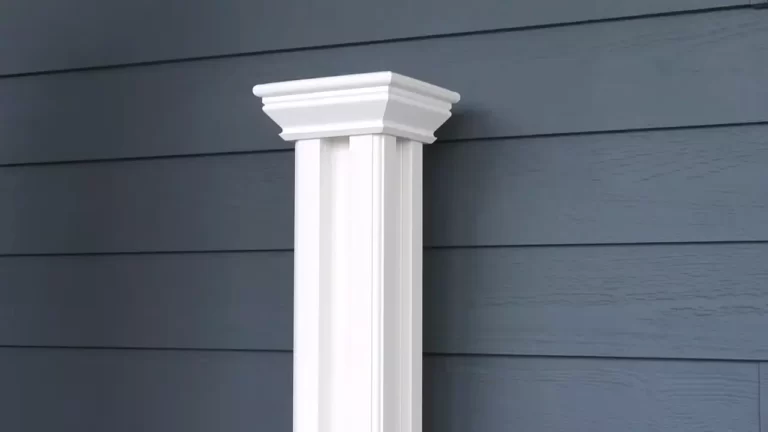
How to Install a Vinyl Picket Fence?
To install a vinyl picket fence, begin by marking the fence line and digging post holes. Next, insert the posts, attach the fence panels, and secure it with concrete.
Choosing The Right Vinyl Picket Fence
When it comes to enhancing the beauty and functionality of your outdoor space, installing a vinyl picket fence can be a great option. Not only does it provide privacy and security, but it also adds a touch of elegance to your property. However, with a plethora of options available in the market, choosing the right vinyl picket fence can be a daunting task. In this section, we will explore the key factors to consider when selecting a vinyl picket fence, how to determine the appropriate height and style for your fence, and the benefits and drawbacks of vinyl picket fences. Let’s dive in!
Factors to Consider When Selecting a Vinyl Picket Fence
Before making a decision, it is important to consider various factors to ensure you choose the perfect vinyl picket fence for your needs. These factors include:
- Durability: When it comes to outdoor fences, durability is crucial. Look for vinyl fences that are designed to withstand harsh weather conditions, UV rays, and potential impacts. This will ensure that your fence stays intact for years to come.
- Quality: It’s essential to invest in a high-quality vinyl picket fence to avoid issues such as chipping, cracking, or fading over time. Opt for fences made from premium vinyl materials that offer exceptional strength and longevity.
- Maintenance: Vinyl fences are known for their low maintenance requirements. However, it’s still essential to inquire about the recommended cleaning and maintenance procedures to keep your fence looking pristine.
- Style: Vinyl picket fences come in various styles, from traditional to modern designs. Consider the architectural style of your home and choose a fence that complements it. Whether you prefer a classic white picket fence or a contemporary design, there is a vinyl picket fence style that will suit your taste.
- Price: Set a budget for your fence installation project and explore vinyl picket fence options that fit within your price range. Remember, while it’s important to consider cost, prioritize quality and durability to ensure a long-lasting investment.
Determining the Appropriate Height and Style for Your Fence
The height and style of your vinyl picket fence play a crucial role in enhancing both the aesthetic appeal and functionality of your outdoor space. Here’s how to determine the appropriate height and style:
Height:
The height of your fence will depend on the level of privacy and security you desire. If you’re looking for a more open and welcoming feel, a lower picket fence might be suitable. In contrast, if privacy is a priority, a taller fence will offer better coverage.
Style:
When selecting the style of your vinyl picket fence, consider the overall design of your home and the surrounding landscape. Consult with a professional or gather inspiration from various sources to choose a style that harmonizes with your property’s aesthetics.
Understanding the Benefits and Drawbacks of Vinyl Picket Fences
Vinyl picket fences offer a range of advantages, but it’s important to be aware of their drawbacks as well. Here’s a quick overview:
| Benefits | Drawbacks |
|---|---|
| Virtually maintenance-free | May not be as sturdy as other fence materials like wood or metal |
| Resistant to rotting, warping, and insect damage | Initial installation costs may be higher compared to other materials |
| Wide range of styles and colors to choose from | Extreme temperature changes can cause vinyl to expand and contract |
| Long-lasting and durable | Not as environmentally friendly as natural materials like wood |
Understanding the benefits and drawbacks will help you make an informed decision when choosing a vinyl picket fence for your property.
In conclusion, selecting the right vinyl picket fence involves considering factors such as durability, quality, maintenance, style, and pricing. Additionally, determining the appropriate height and style will enhance your fence’s overall appearance and functionality. Lastly, understanding the benefits and drawbacks of vinyl picket fences ensures that you can make an informed decision that meets your specific requirements. Now that you’ve gained insight into choosing the right vinyl picket fence, it’s time to transform your outdoor space with this elegant and practical addition!
Preparing Your Yard For Fence Installation
Before you begin installing a vinyl picket fence in your yard, it’s important to properly prepare the area. By taking the time to measure and mark the fence perimeter, clearing any obstructions or debris, and checking for underground utilities, you can ensure a smooth and successful installation process. Follow the steps below to prepare your yard for fence installation:

Measuring and Marking the Fence Perimeter
Start by measuring and marking the exact perimeter where you want your vinyl picket fence to be installed. Using a measuring tape, carefully measure the length and width of the desired fence area. Mark the corners with stakes or flags, ensuring the measurements are accurate. This step is crucial as it will help guide you during the installation process and ensure that your fence is properly aligned and leveled.
Clearing the Area of Any Obstructions or Debris
Before installing your vinyl picket fence, it’s important to clear the designated area of any obstructions or debris. Remove any rocks, branches, or other objects that might obstruct the fence installation or cause damage to the vinyl material. Clearing the area will not only make the installation process easier, but will also help to create a clean and visually appealing fence line.
Checking for Underground Utilities Before Digging
Prior to digging any holes for your fence posts, it’s crucial to check for underground utilities. Contact your local utility company or use an underground utility locator to identify any gas, water, or electrical lines buried in the area. Digging into these utilities can be dangerous and costly. By taking the time to check for underground utilities, you can avoid potential hazards and ensure the safety of your fence installation project.
Once you have measured and marked the fence perimeter, cleared the area of obstructions, and checked for underground utilities, you are ready to move on to the next step in your vinyl picket fence installation journey. By properly preparing your yard, you can set the foundation for a successful and long-lasting fence installation.
Installation Steps For A Vinyl Picket Fence
A vinyl picket fence adds charm and character to any outdoor space, while also providing security and privacy. When it comes to installing a vinyl picket fence, following the proper steps is crucial to ensure a sturdy and long-lasting installation. In this article, we will guide you through the step-by-step process of installing a vinyl picket fence, covering everything from digging post holes and setting fence posts to attaching the pickets and installing the gate and hardware.
1. Digging post holes and setting the fence posts
The first step in installing a vinyl picket fence is to dig post holes and set the fence posts. This is a critical step, as it lays the foundation for the entire fence structure. Follow these steps:
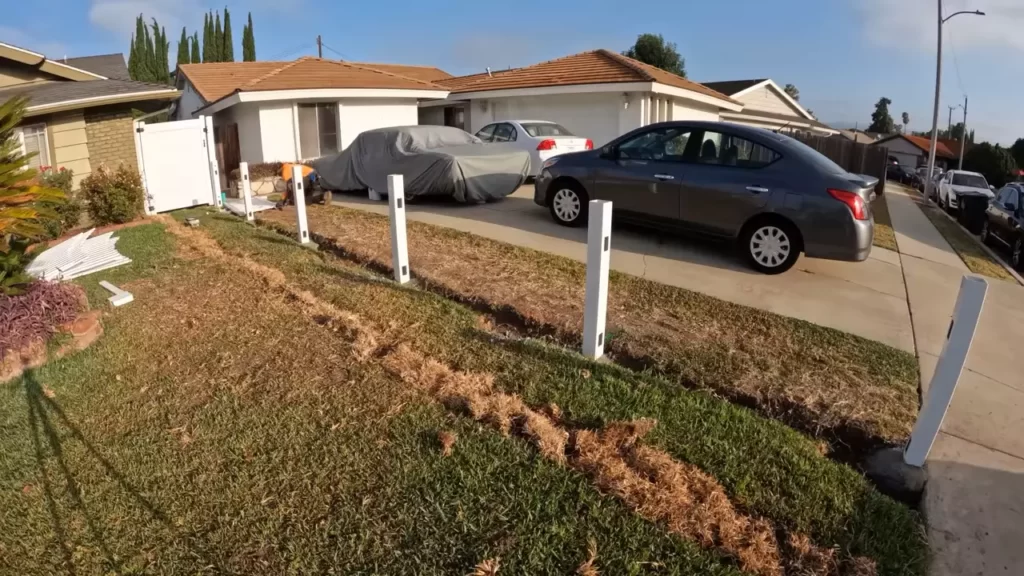
- Measure and mark the locations where the fence posts will be placed. Use a string line or a chalk line to ensure a straight fence.
- Using a post hole digger or an auger, dig the post holes at least 1/3 the height of the fence post and with a diameter that is approximately three times the width of the post. For example, if your fence posts are 4 inches wide, the diameter of the post holes should be around 12 inches.
- Place the fence posts in the holes, making sure they are plumb (vertical) and level (horizontal). Use a level to ensure accuracy.
- Backfill the holes with concrete mix and compact them using a post level for added stability. Allow the concrete to cure according to the manufacturer’s instructions.

2. Attaching the pickets to the posts
Once the fence posts have been set and the concrete has cured, it’s time to attach the pickets. This step adds the aesthetic appeal and defines the look of your vinyl picket fence. Follow these steps:
- Measure and mark the height at which you want to install the pickets, ensuring each picket is aligned properly.
- Starting at one end of the fence, attach the pickets to the fence posts using screws or vinyl fence brackets. Make sure each picket is level and evenly spaced.
- Repeat the process until all the pickets have been securely attached to the fence posts.
3. Installing the gate and hardware
The final step in installing a vinyl picket fence is to install the gate and hardware, which provides easy access to your outdoor space. Follow these steps:
- Measure and mark the desired location for the gate, ensuring it is aligned with the fence posts.
- Install the gate posts, making sure they are plumb and level. Use a gate kit or hinges and latches designed specifically for vinyl fence gates.
- Attach the gate panel to the gate posts using the provided hardware. Check the gate for level and adjust if necessary.
- Install the gate latch and handle, ensuring they are functioning properly and securely.
By following these installation steps, you can have a beautiful and functional vinyl picket fence that will enhance your outdoor space for years to come.
Tips For Properly Maintaining Your Vinyl Picket Fence
Cleaning and washing the fence regularly
One of the most important aspects of maintaining your vinyl picket fence is regular cleaning and washing. Over time, dirt, dust, and other debris can accumulate on the surface of the fence, detracting from its overall appearance. Cleaning your vinyl picket fence is a simple process that can help keep it looking fresh and vibrant for years to come.
To clean your vinyl picket fence, you can start by using a hose to remove any loose dirt or debris. Next, create a solution of mild soap and water and apply it to the fence using a soft sponge or cloth. Gently scrub the fence in a circular motion, paying extra attention to any stubborn stains. Rinse off the soap solution with clean water, ensuring that all soap residue is removed. Finally, allow the fence to air dry or use a clean cloth to dry it off.
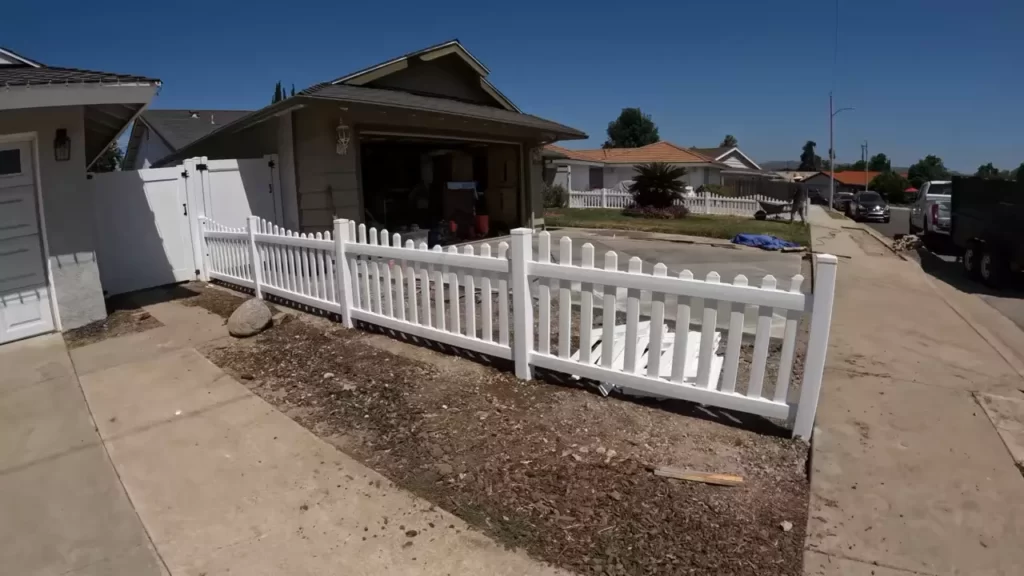
Inspecting for any damage or loose components
Regular inspections are essential for identifying any signs of damage or loose components on your vinyl picket fence. Harsh weather conditions, accidental impacts, or normal wear and tear can all contribute to potential issues that need to be addressed.
To inspect your vinyl picket fence, start by visually examining the entire structure. Look for any cracks, chips, or dents in the individual pickets or the main railings. Check for any loose or missing screws, as well as any signs of bending or warping. Additionally, pay attention to the gate hinges and latches, ensuring that they are functioning properly.
If you come across any damage or loose components during your inspection, it is important to address them promptly. Repair any cracks or chips using a vinyl fence repair kit, and replace any missing or damaged components as needed. Doing so will help maintain the integrity of your vinyl picket fence and prolong its lifespan.
Applying vinyl fence protectant to enhance longevity
To enhance the longevity of your vinyl picket fence, applying a vinyl fence protectant is highly recommended. This protective coating acts as a shield against UV rays, weathering, and other external factors that can cause the fence to fade or deteriorate over time.
Before applying the vinyl fence protectant, make sure the fence is clean and dry. Follow the manufacturer’s instructions and use a paintbrush or sprayer to evenly apply the protectant solution onto the fence surface. Allow sufficient drying time as per the product guidelines.
By regularly applying a vinyl fence protectant, you can maintain the vibrant appearance of your picket fence and protect it from the damaging effects of the sun and other environmental elements.
Frequently Asked Questions Of How To Install A Vinyl Picket Fence
How Long Does It Take To Install A Vinyl Picket Fence?
Installing a vinyl picket fence typically takes around 2 to 3 days, depending on the size of the area and the complexity of the project. Factors such as soil conditions and weather can also affect the installation time. It’s best to consult with a professional installer for a more accurate timeframe.
What Tools Do I Need To Install A Vinyl Picket Fence?
To install a vinyl picket fence, you will need the following tools: a post-hole digger, level, tape measure, shovel, gravel, concrete mix, saw, drill, screws, brackets, and a rubber mallet. It’s important to have the right tools to ensure a successful and efficient installation.
Can I Install A Vinyl Picket Fence On My Own?
Yes, it is possible to install a vinyl picket fence on your own if you have some DIY experience and the necessary tools. However, keep in mind that installing a fence requires physical labor and attention to detail. It may be best to consult with a professional if you’re unsure about your ability to complete the installation correctly.
Conclusion
Installing a vinyl picket fence is a straightforward process that can enhance the beauty and security of your property. By following the steps outlined in this guide, you can easily complete the installation on your own. Remember to carefully measure, plan, and prepare the necessary materials before starting the project.
With proper maintenance, your vinyl picket fence will provide long-lasting durability and aesthetic appeal. Start transforming your outdoor space today!

