How to Install Screw Hook Without Drill?
To install a screw hook without a drill, you can use a pair of pliers to create a hole in the surface and then screw in the hook. Installing a screw hook can be a simple task that requires minimal tools.
However, not everyone has access to a drill, which is often the go-to tool for this job. Fortunately, there are alternative methods for installing a screw hook without a drill. We will explore a step-by-step approach to installing a screw hook using commonly available tools like pliers.
Whether you’re hanging a picture frame or organizing your tools, knowing how to install a screw hook without a drill can come in handy. So, let’s get started and learn this practical DIY skill.
Securing Screw Hooks Without A Drill
When it comes to installing screw hooks, not everyone owns a power drill. But that doesn’t mean you can’t successfully secure them without one. In this section, we’ll explore two effective ways to install screw hooks without a drill: using adhesive hooks and employing techniques for screwing without a power drill.
Using Adhesive Hooks
Adhesive hooks can be a great alternative for those who don’t have a drill or do not want to drill holes in their walls. These hooks come with a strong adhesive backing that adheres securely to various surfaces, including wood, metal, and painted walls.
To install screw hooks with adhesive hooks, follow these simple steps:
- Clean the surface where you want to place the hook using a mild cleaner or rubbing alcohol. Ensure it is free from dust, oil, or any other substances that could affect the adhesive’s grip.
- Peel off the protective backing from the adhesive on the hook.
- Press the adhesive side of the hook firmly against the cleaned surface. Apply pressure for about 30 seconds to ensure a strong bond.
- Let the adhesive cure for the recommended time specified by the manufacturer before adding any weight or hanging items from the hook.
Adhesive hooks are not only easy to use but they also offer the advantage of being removable without leaving any damaging marks on your walls. Keep in mind, though, that their weight capacity can vary depending on the brand and size, so always check the packaging for specific instructions.
Techniques for Screwing Without a Power Drill
If you prefer a more traditional approach and want to secure screw hooks without adhesive, there are a few techniques you can employ. While these methods may require a little more effort, they can be just as effective:
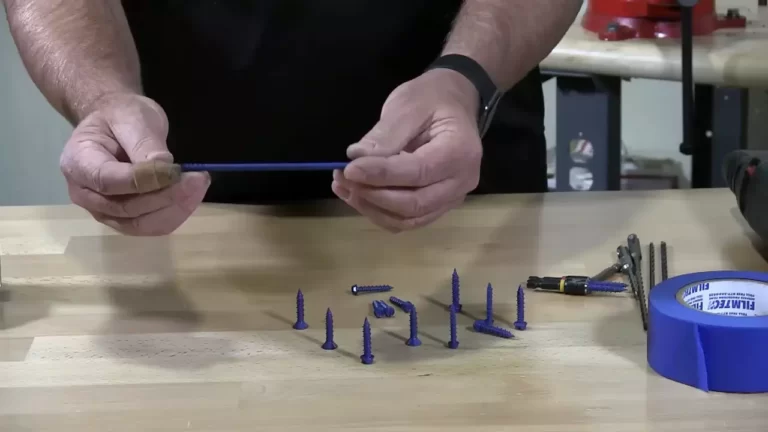
- Using Pliers: Grip the screw hook tightly with a pair of pliers. Then, using your other hand, apply pressure and twist the hook clockwise into the desired surface.
- Piloting with Sharp Objects: If the surface is particularly hard, like concrete or hardwood, you can create a pilot hole using a sharp object, such as a nail or awl. Insert the sharp object into the surface and tap it gently with a hammer. This will create a small hole, enabling easier screw penetration.
- Using Screwdriver and Hammer: For larger screw hooks or stubborn surfaces, you can use a screwdriver and a hammer. Place the tip of the screwdriver into the designated spot and gently tap it with the hammer until the screwdriver bites into the surface. Finally, twist the screw hook in a clockwise motion until it is securely in place.
Remember, when using these techniques, it’s important to be cautious and ensure the hook is properly aligned and installed securely. Always test the strength of the screw hook before putting weight or hanging items from it, and consider the weight capacity of the hook to avoid any accidents or damage.
By using adhesive hooks or employing the techniques mentioned above, you can easily and securely install screw hooks even without a power drill. These methods provide simple solutions for hanging various items and adding functionality to your space.
Alternative Tools For Installation
When it comes to installing screw hooks without a drill, there are alternative tools that can come in handy. Whether you don’t have a power drill or simply prefer a manual approach, these alternative options allow you to get the job done effectively. In this article, we will explore two such tools: pliers and wrench for manual screwing, and a screwdriver as a substitute for a power drill. Additionally, we will also discuss how utilizing a hammer and nails can provide another installation option. Let’s dive in!
Pliers and Wrench for Manual Screwing
If you don’t have a drill or prefer a manual approach, using pliers and a wrench can be an excellent alternative for installing screw hooks. Here’s how you can do it:
- Hold the screw hook firmly with a pair of pliers, preferably with a built-in grip for better control.
- Position the tip of the screw hook at the desired spot for installation.
- Gently rotate the screw hook clockwise into the surface using the wrench, ensuring it remains straight throughout the process.
- Continue rotating until the screw hook is securely installed.
This method may require a bit more effort compared to using a drill, but it can still achieve the desired result. Remember to take breaks if needed and avoid excessive strain on your hands.
Screwdriver as a Substitute for a Power Drill
If you have a screwdriver but not a power drill, fret not! A screwdriver can serve as a substitute tool for installing screw hooks. Follow these steps:
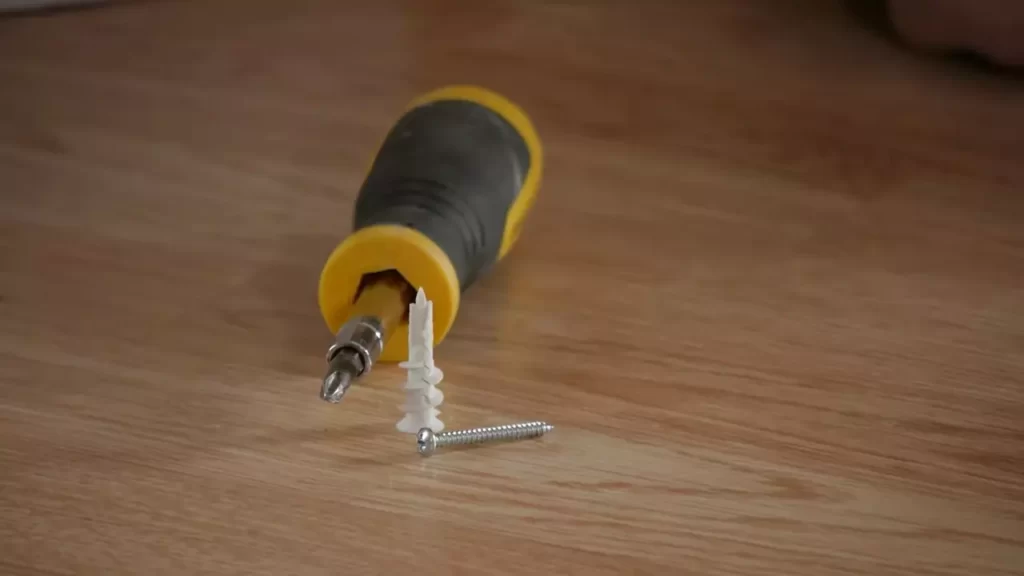
- Choose a screwdriver that matches the size of the screw hook.
- Hold the screw hook against the surface, ensuring it is positioned correctly.
- Press the tip of the screwdriver into the starting point of the installation area.
- Apply pressure and rotate the screwdriver clockwise to drive the screw hook into the surface.
- Continue rotating until the screw hook is tightly secured.
Although this method requires more manual effort compared to using a power drill, it can be an effective alternative when the drill is not available. Take breaks if needed, and consider using gloves for better grip and protection.
Utilizing a Hammer and Nails
If you don’t have access to pliers, wrench, or screwdriver, using a hammer and nails can provide another option for installing screw hooks. Here’s how you can do it:
- Choose a sturdy nail with a size similar to the screw hook.
- Place the screw hook against the surface at the desired location.
- Hold the nail firmly and position its tip at the starting point of the screw hook installation.
- Gently tap the nail into the surface using the hammer, creating a pilot hole.
- Remove the nail and position the screw hook in the newly created pilot hole.
- Gently tap the screw hook into the surface using the hammer until it is securely installed.
This method requires some precision and control to avoid damaging the surrounding area. Take your time and ensure the screw hook is straight and secure once it is installed.
By utilizing these alternative tools such as pliers and wrench, screwdriver, and hammer and nails, you can successfully install screw hooks even without a drill at your disposal. Remember to choose the method that suits your preference and circumstances best. Happy installation!
Choosing The Right Screw Hooks
When it comes to installing screw hooks without a drill, one of the most important factors to consider is choosing the right type of screw hooks. Understanding the different types available and selecting the appropriate size and weight capacity is essential to ensure a secure and successful installation.
Understanding different types of screw hooks
Before you begin your installation, it’s important to familiarize yourself with the different types of screw hooks available. Here are a few common types you might come across:
- Regular screw hooks: These are the most basic type of screw hooks, featuring a curved hook on one end and a threaded screw on the other. They are suitable for hanging lightweight items, such as small plants or decorative ornaments.
- Safety screw hooks: If you’re concerned about your items accidentally slipping off the hook, safety screw hooks are a great option. They have a latch or closure mechanism that provides additional security.
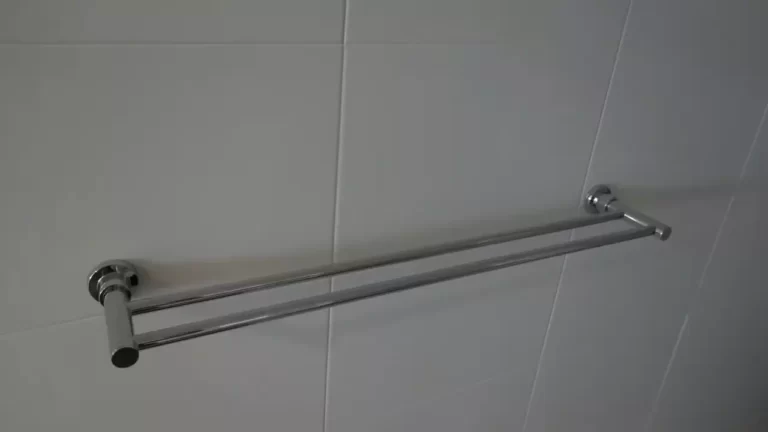
- Shouldered screw hooks: Shouldered screw hooks have a small protrusion or shoulder near the base of the hook. This feature prevents the items from sliding along the length of the hook, making them ideal for holding items with handles, such as kitchen utensils or tools.
Selecting the appropriate size and weight capacity
Once you’ve determined the type of screw hook you need, it’s crucial to select the appropriate size and weight capacity. This will ensure that the hook can adequately support the weight of the items you intend to hang. When selecting screw hooks, consider the following:
- Weight capacity: Each screw hook will have a specified weight capacity. Make sure to choose a hook that can comfortably support the weight of the item you’re hanging. It’s always better to opt for a hook with a higher weight capacity to ensure durability and safety.
- Size: Screw hooks come in various sizes, typically ranging from small to large. The size you choose will depend on the thickness of the material you’ll be screwing the hook into, as well as the size of the item you plan to hang. Ensure that the hook is long enough to penetrate the material and provide a secure hold.
By taking the time to understand the different types of screw hooks and selecting the appropriate size and weight capacity, you can ensure a successful installation that will securely hold your items without the need for a drill. Remember, always follow the manufacturer’s instructions and take necessary safety precautions while installing screw hooks.
Method 1: Installing Screw Hooks With Adhesive
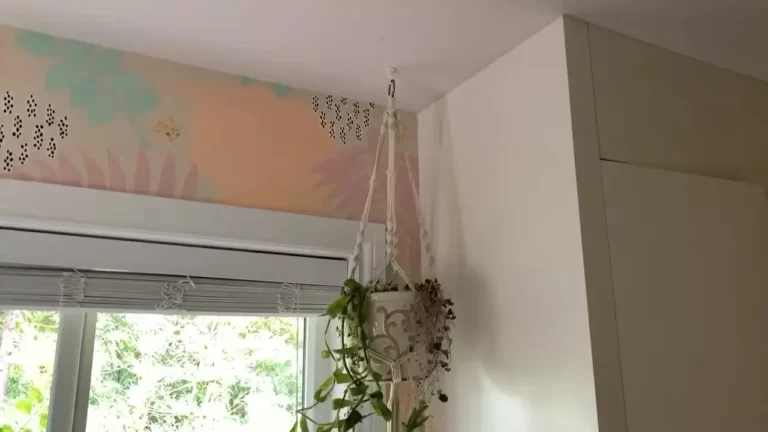
When it comes to hanging items, such as a curtain rod or a plant hanger, you might not have access to a drill. But don’t worry, there’s a simple and hassle-free alternative – installing screw hooks with adhesive. This method allows you to securely attach screw hooks without the need for any power tools. In this article, we will guide you through the process, step by step, to help you achieve a sturdy and reliable attachment using adhesive hooks.
Cleaning the Surface for Proper Adhesion
Before installing the adhesive hook, it’s crucial to ensure that the surface is clean and free of any dust, dirt, or grease. A clean surface will promote proper adhesion, ensuring that the hook stays firmly in place. To clean the surface:
- Gently wipe the area using a slightly damp cloth to remove any loose dirt or dust particles.
- For surfaces with stubborn dirt or grease, use a mild detergent or cleaner to thoroughly clean the area. Rinse the surface and allow it to dry completely before proceeding to the next step.
Applying the Adhesive Hook
Once the surface is clean and dry, it’s time to apply the adhesive hook. Follow these steps:
- Remove the backing from the adhesive hook, exposing the sticky side.
- Align the hook with the desired position on the surface and firmly press it down.
- Apply pressure to the hook for a few seconds to ensure proper bonding with the surface.
Ensuring Secure Attachment
After applying the adhesive hook, it’s important to ensure that it is securely attached for optimal performance. Follow these steps to ensure a secure attachment:
- Allow the adhesive to set for the recommended time specified by the manufacturer. This will vary depending on the adhesive product you are using.
- Once the adhesive has set, gently tug on the hook to check if it holds firm. If it comes off easily, it may require additional drying time or a stronger adhesive.
- If the hook passes the tug test, you can proceed to hang your item on the hook. Make sure to follow the weight limit specified by the manufacturer to prevent any damage or accidents.
By following these steps, you can successfully install screw hooks without a drill using adhesive. It’s a convenient and effective method that allows you to hang items securely without the need for any power tools. Remember to clean the surface, apply the adhesive hook properly, and ensure a secure attachment for a reliable hanging experience.
Method 2: Manual Screw Installatio
When it comes to installing a screw hook without a drill, one method you can use is manual screw installation. This method involves twisting the screw hook into the surface using pliers and a wrench. It’s a simple and effective way to get the job done without the need for power tools.
Preparing the surface
Before you begin installing the screw hook manually, it’s important to prepare the surface. Make sure the area where you want to install the screw hook is clean and free of any debris or dust. This will ensure a secure and stable installation.
Using pliers and wrench for twisting
To install the screw hook manually, you will need a pair of pliers and a wrench. Start by holding the screw hook with the pliers, making sure to grip it tightly. Then, position the tip of the screw hook on the surface and begin twisting it clockwise using the wrench. Apply steady pressure as you twist to push the screw hook into the surface.
If you encounter any resistance while twisting, stop and assess the situation. It’s possible that the surface is too dense or the screw hook is not suitable for the material. In such cases, you may need to choose a different installation method or consider using a different type of screw hook specifically designed for the material.
Ensuring the hook is secure
Once you have twisted the screw hook into the surface, it’s important to ensure that it is secure. Give it a gentle tug to test its stability. If it feels loose or wobbly, you may need to try twisting it further or consider using a larger screw hook for a more secure installation.
Additionally, it’s important to note that the weight capacity of the screw hook may vary depending on the size and material. Always check the manufacturer’s guidelines to ensure you are using the screw hook within its recommended weight limits.
With this manual screw installation method, you can easily install a screw hook without the need for a drill. Just follow the steps outlined above to prepare the surface, use pliers and a wrench to twist the screw hook into place, and ensure it is secure. Whether you’re hanging a picture frame, organizing your workspace, or any other task that requires a screw hook, this method provides a convenient solution.
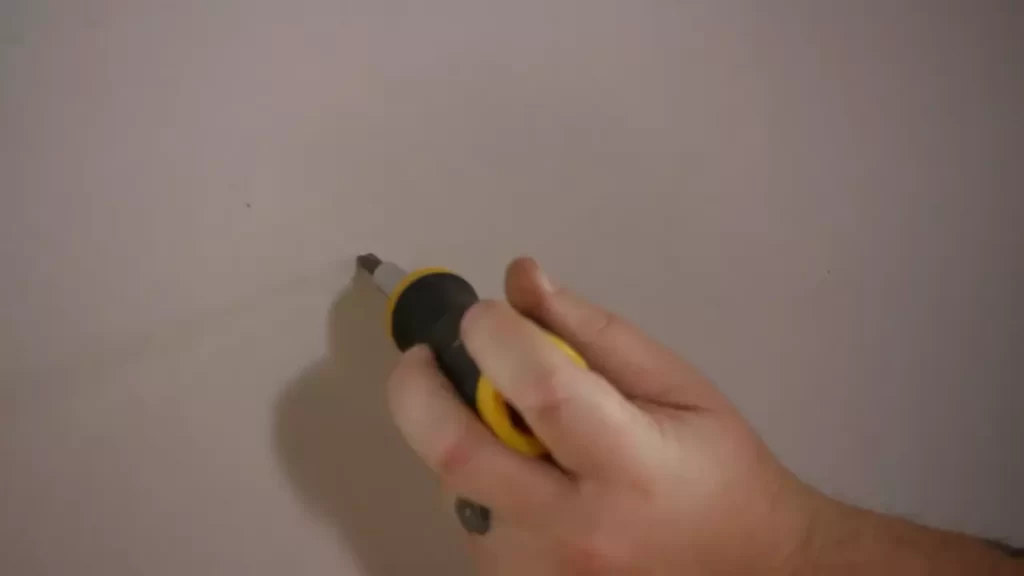
Method 3: Screwdriver As A Power Drill Substitute
When it comes to installing a screw hook without a drill, using a screwdriver as a power drill substitute can be a convenient and effective method. This method is especially handy when you don’t have a power drill on hand or want to avoid the noise and hassle that comes with using one. Using a screwdriver for twisting allows you to manually drive the screw into the desired surface, giving you control over the installation process.
Preparing the surface
Before you begin the installation process, it’s important to prepare the surface where you want to install the screw hook. Ensure that the surface is clean and free from any dust or debris. You can use a cloth or brush to remove any dirt or particles that might hinder the installation. Additionally, make sure to mark the precise location where you want to install the screw hook to ensure accurate placement.
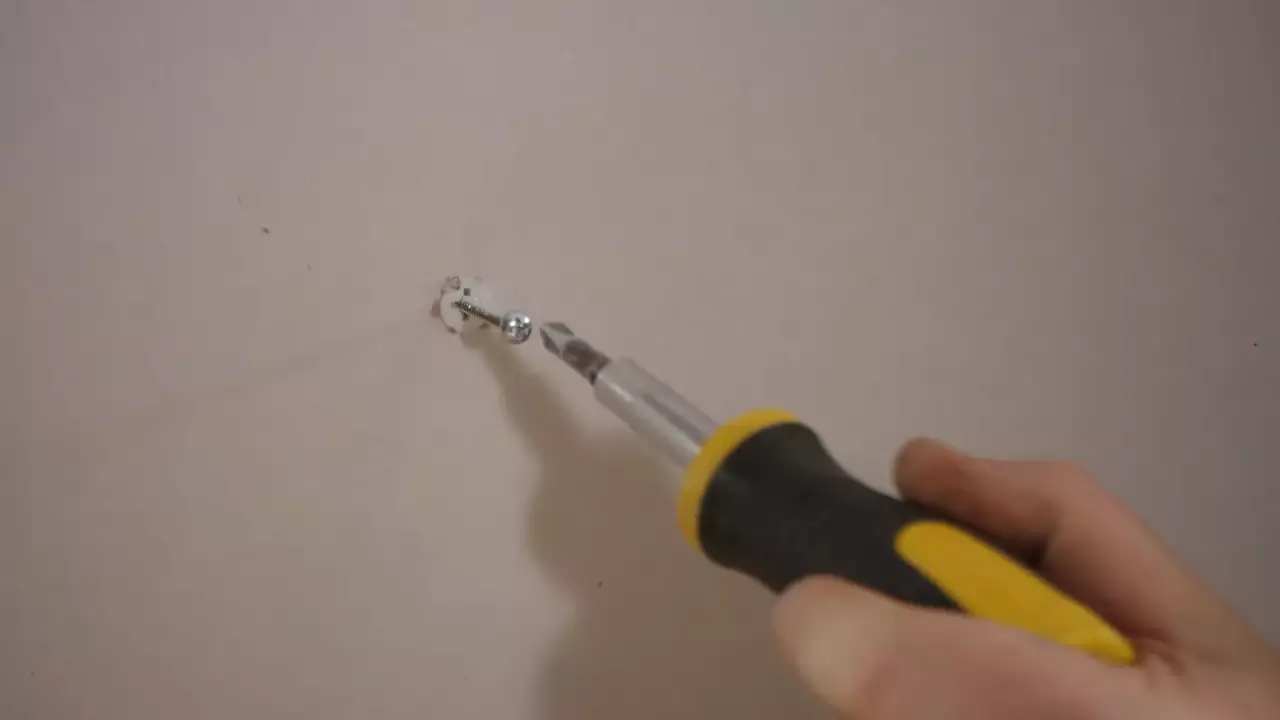
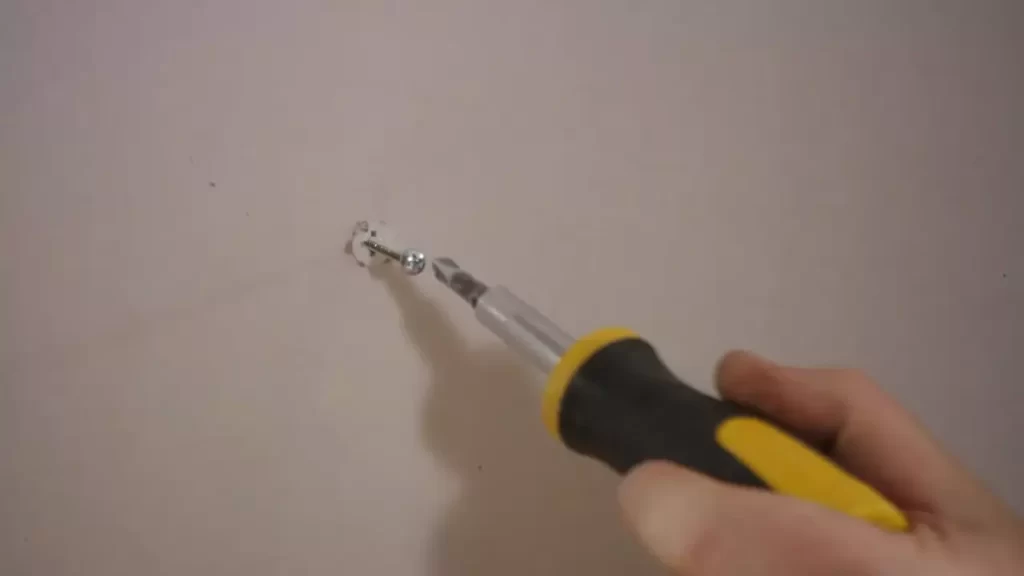
Using a screwdriver for twisting
Once you have prepared the surface, it’s time to grab your screwdriver and start twisting. Make sure to choose a screwdriver with a good grip and a tip that fits perfectly into the head of the screw hook. Begin by positioning the screw hook at the marked spot on the surface and firmly hold it in place with one hand. With the other hand, insert the screwdriver tip into the screw hook’s head and start twisting clockwise.
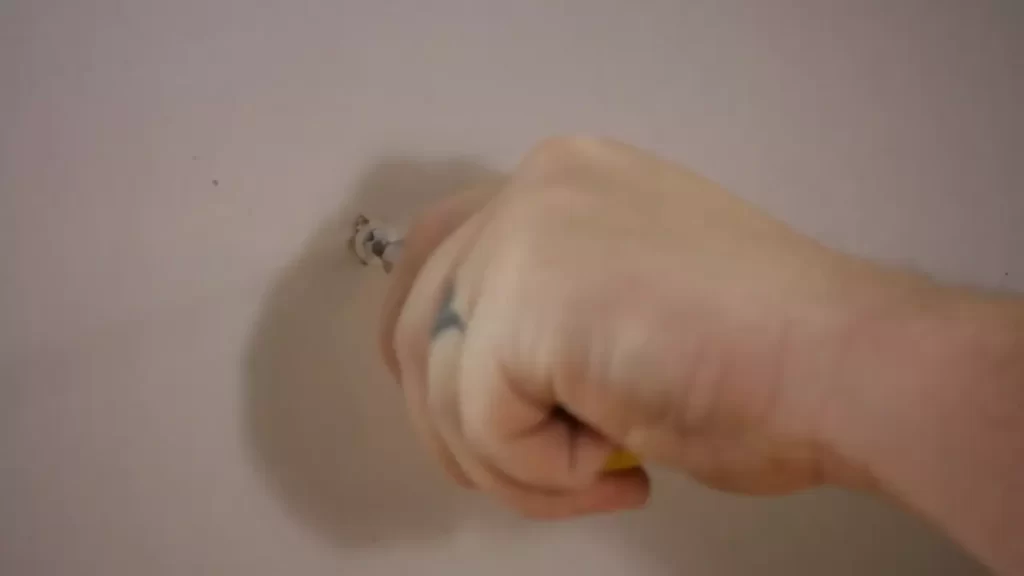
Apply consistent pressure while turning the screwdriver, pushing the screw hook into the surface. Take your time and be patient, as this method may require more effort compared to using a power drill. Keep twisting until the screw hook is fully embedded in the surface and feels secure.
Ensuring the hook is securely in place
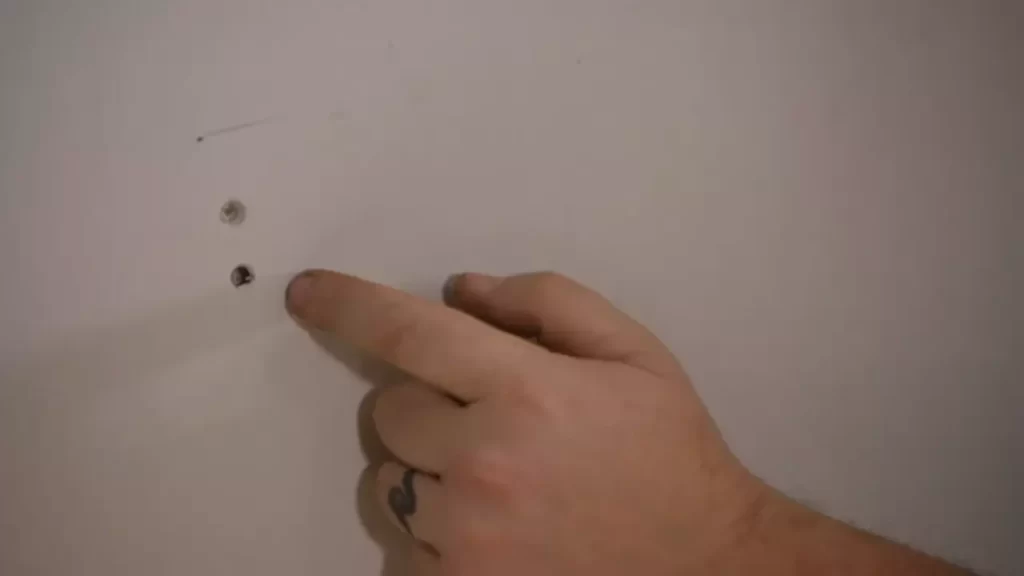
After twisting the screw hook into the surface, it’s essential to ensure that it is securely in place. Gently tug on the screw hook to test its stability. If it wiggles or feels loose, you may need to twist it further until it feels firmly anchored.
You can also inspect the surface around the screw hook for any signs of damage or cracking. If you notice any, it may be an indication that the screw hook needs to be repositioned or removed and replaced with a new one. It’s better to address any issues now rather than having to deal with a loose or damaged screw hook later on.
In conclusion, using a screwdriver as a power drill substitute can be an effective method for installing a screw hook without a drill. By following the steps outlined above, you can ensure a secure and successful installation while avoiding the need for specialized equipment. Remember to prepare the surface, use a screwdriver for twisting, and ensure that the hook is securely in place to achieve a sturdy and reliable installation.
Method 4: Using A Hammer And Nails
Marking the spot for installation
To begin the process of installing a screw hook without a drill using a hammer and nails, you’ll first need to mark the spot where you want the hook to be placed. This step is crucial as it ensures accuracy and prevents any unnecessary damage to your wall or surface.
Start by determining where you want the screw hook to go. It could be for hanging a painting, a plant, or any other item that requires a hook for support. Once you have identified the desired location, use a pencil or a marker to make a small mark on the surface. This will serve as a guide when hammering the nail.
Hammering the nail
Now that you have marked the spot, it’s time to hammer the nail into place. Choose an appropriate nail size based on the weight and size of the item you plan to hang. Using a larger nail will provide more stability for heavier items, while a smaller nail may be suitable for lightweight objects.
Hold the nail firmly between your fingers and position it at the marked spot. With the other hand, hold the hammer and align it with the top of the nail. Gently tap the hammer onto the nail head, gradually increasing the force until the nail begins to penetrate the surface.
Using controlled and even strokes, continue hammering until the nail is securely in place. Be cautious not to hit the nail too hard or at a sharp angle, as this can cause damage to the wall or object you are working with.
Hanging items on the nail, ensuring each H3 heading adheres to HTML syntax
Now that you have successfully hammered the nail into the desired location, you can proceed with hanging your items. This method is suitable for lightweight items such as small picture frames, decorative pieces, or lightweight plants.
To ensure stability and prevent any accidents, use a twisting motion to hang the item on the nail. This will help secure the item in place and reduce the risk of it falling off.
Remember to assess the weight and size of the item before hanging it on the nail. If you believe that the item may be too heavy for the nail, consider using an alternate method or seek professional assistance.
Tips And Tricks For Easy Installation
Installing a screw hook without a drill can be a daunting task, but with the right tips and tricks, it can be a breeze. In this section, we will explore three effective methods to simplify the installation process, ensuring your screw hook is securely in place. These methods include applying lubrication for easier twisting, using a pilot hole for manual screwing, and employing a level for precise placement. Let’s dive in and learn how to achieve hassle-free installation.
Applying lubrication for easier twisting
One way to simplify the installation of a screw hook without a drill is by applying lubrication. Lubrication can significantly reduce friction, making it easier to twist the screw hook into place. Before starting, it’s essential to choose the right lubricant. A light oil or silicone spray can work wonders in this scenario. To apply the lubricant, follow these steps:
- Place a small amount of lubricant on your fingers or a cloth.
- Coat the threads of the screw hook with the lubricant.
- Begin twisting the screw hook into the desired surface, applying moderate pressure.
- If needed, reapply the lubricant during the installation process to ensure smooth and easy twisting.
Using a pilot hole for manual screwing
Another useful technique for installing a screw hook without a drill is by using a pilot hole. A pilot hole provides a guide for the screw hook, making it easier to screw in manually. Follow these steps to create a pilot hole:
- Select a drill bit that is slightly smaller than the diameter of the screw hook.
- Wear safety goggles to protect your eyes.
- Hold the drill bit firmly and perpendicular to the surface where you want to install the screw hook.
- Apply steady pressure and drill into the surface until the desired depth is reached.
- Remove the drill bit and wipe away any excess debris.
- Now, you can easily twist the screw hook into the pilot hole.
Employing a level for precise placement
Precise placement of the screw hook is crucial for proper functionality and aesthetic appeal. Using a level can help ensure that your screw hook is installed straight and aligned correctly. Follow these steps to employ a level for precise placement:
- Hold the level against the surface where you want to install the screw hook.
- Adjust the position until the bubble in the level is centered.
- Once the level indicates that the surface is level, mark the spot where the screw hook will be installed.
- Use a pencil or a marker to make a visible mark.
- With the marked spot as a guide, proceed to twist the screw hook into place.
By following these tips and tricks, you can install a screw hook without a drill easily and efficiently. Remember to apply lubrication, use a pilot hole, and employ a level for precise placement. These methods will help ensure that your screw hook is securely installed, providing the necessary support and hanging solution you need.
Precautions For Hanging Heavy Items
When it comes to hanging heavy items, it’s important to take proper precautions to ensure the safety and stability of your installation. Understanding weight capacity limitations and reinforcing the installation are two crucial steps in achieving a secure hanging solution. By following these precautions, you can confidently hang heavy items without the need for a drill.
Understanding weight capacity limitations
Before installing a screw hook without a drill, it’s essential to understand the weight capacity limitations of the hook you are using. Each screw hook has a specified weight limit, which indicates the maximum weight it can support without compromising safety. Exceeding this weight limit can lead to the screw hook failing and causing damage or injury.
When selecting a screw hook, carefully check the weight capacity indicated on the packaging or product specifications. Consider the weight of the item you intend to hang and ensure it falls within the recommended limits. It’s always better to choose a screw hook with a higher weight capacity than the actual weight of the item, providing an extra level of security.
Reinforcing installation for added strength
To ensure the screw hook holds securely, reinforcing the installation is highly recommended, especially for heavy items. There are a few methods you can employ to increase the strength of the installation and reduce the risk of the hook coming loose.
- Using a wall anchor: For extra reinforcement, consider using a wall anchor along with the screw hook. Wall anchors are designed to distribute weight evenly and provide additional support for hanging items. Choose an anchor that suits your specific wall type and follow the instructions for installation.
- Using multiple screw hooks: Instead of relying on a single screw hook, using multiple hooks can distribute the weight of the item more evenly. Install the hooks across a larger surface area, ensuring they are properly spaced and aligned for maximum stability.
To reinforce the installation, you can also utilize other hanging hardware such as picture frame wire or heavy-duty chains. These additional components can provide extra support and peace of mind when hanging heavy items, allowing you to confidently display your items without the need for a drill.
Troubleshooting And Problem Solving
Addressing Hooks That Do Not Stay in Place
If you’ve installed a screw hook without using a drill and find that it does not stay in place, don’t worry! There are a few troubleshooting tips you can try to ensure that your hook remains secure.
1. Check the surface: Make sure the surface where you want to install the screw hook is suitable for holding the weight you plan to hang. If it’s too soft or crumbly, the hook may not have enough grip. Consider using a different type of hook or finding a sturdier location.
2. Choose the right size hook: Ensure that the screw hook you’re using is appropriate for the weight you intend to hang. If it’s too small, it may not provide enough support. Conversely, if it’s too large, it might not fit properly in the surface.
3. Rotate the hook: Try twisting the hook in a clockwise motion once it’s inserted. This can help the threads catch and establish a stronger hold. Use a pair of pliers or a wrench for better grip if necessary.
4. Add adhesive: If the above steps haven’t solved the problem, apply a small amount of adhesive, such as construction adhesive or epoxy, to the screw threads before inserting the hook. Make sure to follow the manufacturer’s instructions and allow sufficient drying time before putting any weight on the hook.
Correcting Hooks That Are Difficult to Screw
Sometimes, screwing in a hook without a drill can be challenging, especially if you’re dealing with hard surfaces or encountering resistance. Here are a few solutions to help you when you’re finding it difficult to screw in the hook:
1. Pre-drill a pilot hole: If the surface is particularly hard or resistant, create a pilot hole using a small drill bit. This will provide a starting point for the hook and make it easier to screw in. Remember to choose a drill bit size slightly smaller than the screw hook.
2. Apply lubrication: Rubbing a little bar soap, wax, or even cooking oil on the threads of the hook can help reduce friction, making it easier to screw in. This technique works well for hooks made of metal.
3. Use pliers or a wrench: If you’re unable to twist the hook by hand, grip the hook with pliers or a wrench, providing extra leverage to turn it. Be careful not to apply too much force, as this can strip the threads or damage the hook.
4. Try a different hook type: If all else fails, consider using a different type of hook that doesn’t require screwing. Options like adhesive hooks or magnetic hooks may be more suitable for your specific situation.
Remember, installing a screw hook without a drill requires patience and careful technique. By implementing these troubleshooting tips, you can ensure that your hooks stay in place and your hanging items are secure.
Frequently Asked Questions Of How To Install Screw Hook Without Drill
How Can I Install A Screw Hook Without Using A Drill?
To install a screw hook without a drill, you can use a hammer and nail to create a pilot hole, then twist the screw hook in by hand. Alternatively, you can use adhesive hooks for a drill-free installation method. Remember to choose a hook suitable for your surface and weight requirements.
Can I Use A Screwdriver Instead Of A Drill For Installing A Screw Hook?
Yes, you can use a screwdriver instead of a drill to install a screw hook. Simply use the screwdriver to create a pilot hole, then screw the hook in by hand. This method may take a bit more effort and time compared to using a drill, but it can be a viable option if you don’t have access to a drill.
Are There Any Tips For Installing A Screw Hook Without A Drill?
Yes, here are some tips for installing a screw hook without a drill:
1. Start with a small pilot hole to make it easier to screw the hook in.
2. Use a hammer to tap the screw hook in if needed.
3. Choose the right type and size of screw hook for your application.
4. Consider using adhesive hooks for an even easier drill-free installation method.
Conclusion
To sum up, installing a screw hook without a drill can be a simple and convenient process when you have the right tools and techniques at hand. By following the step-by-step instructions in this guide, you can easily hang your items securely without the need for a power tool.
Remember to use the appropriate tools and take your time to ensure safety and effectiveness. With these tips, you can accomplish your hanging tasks with ease and precision. Happy hanging!